This article explores Lens, an IDE for K8s that enables easier management, monitoring, & observability for clusters. It is a standalone application, and it is available on all platforms.
Lens is quite powerful providing us with real-time statistics, log streams, and troubleshooting capabilities out of the box while it’s open-source and free.
Getting Started
Let’s explore its features and how it could help our daily workflows. You can find the official documentation here.
First, we need to download Lens. Grab the correct package for your platform and install the app.
In order to try Lens, we need a K8s cluster. For this demo, I’ll use Docker’s desktop Kubernetes mode which spawns a single-node cluster in our local machine. Check how to enable this feature here.
Now that we have a cluster ready, let’s deploy an app to it. For this, we are going to use an example application from the official Kubernetes GitHub repository.
The guestbook-go should be a nice candidate for this demo.
You can find the details on how to deploy this on your local cluster here. Basically:
kubectl create -f examples/guestbook-go/redis-master-controller.json
kubectl create -f examples/guestbook-go/redis-master-service.json
kubectl create -f examples/guestbook-go/redis-slave-controller.json
kubectl create -f examples/guestbook-go/redis-slave-service.json
kubectl create -f examples/guestbook-go/guestbook-controller.json
kubectl create -f examples/guestbook-go/guestbook-service.json
To verify that the guestbook app has been deployed successfully open a browser and navigate to http://localhost:3000 and you should see this:

Great, we have our cluster and our app. Ready to explore Lens.
Lens hands-on
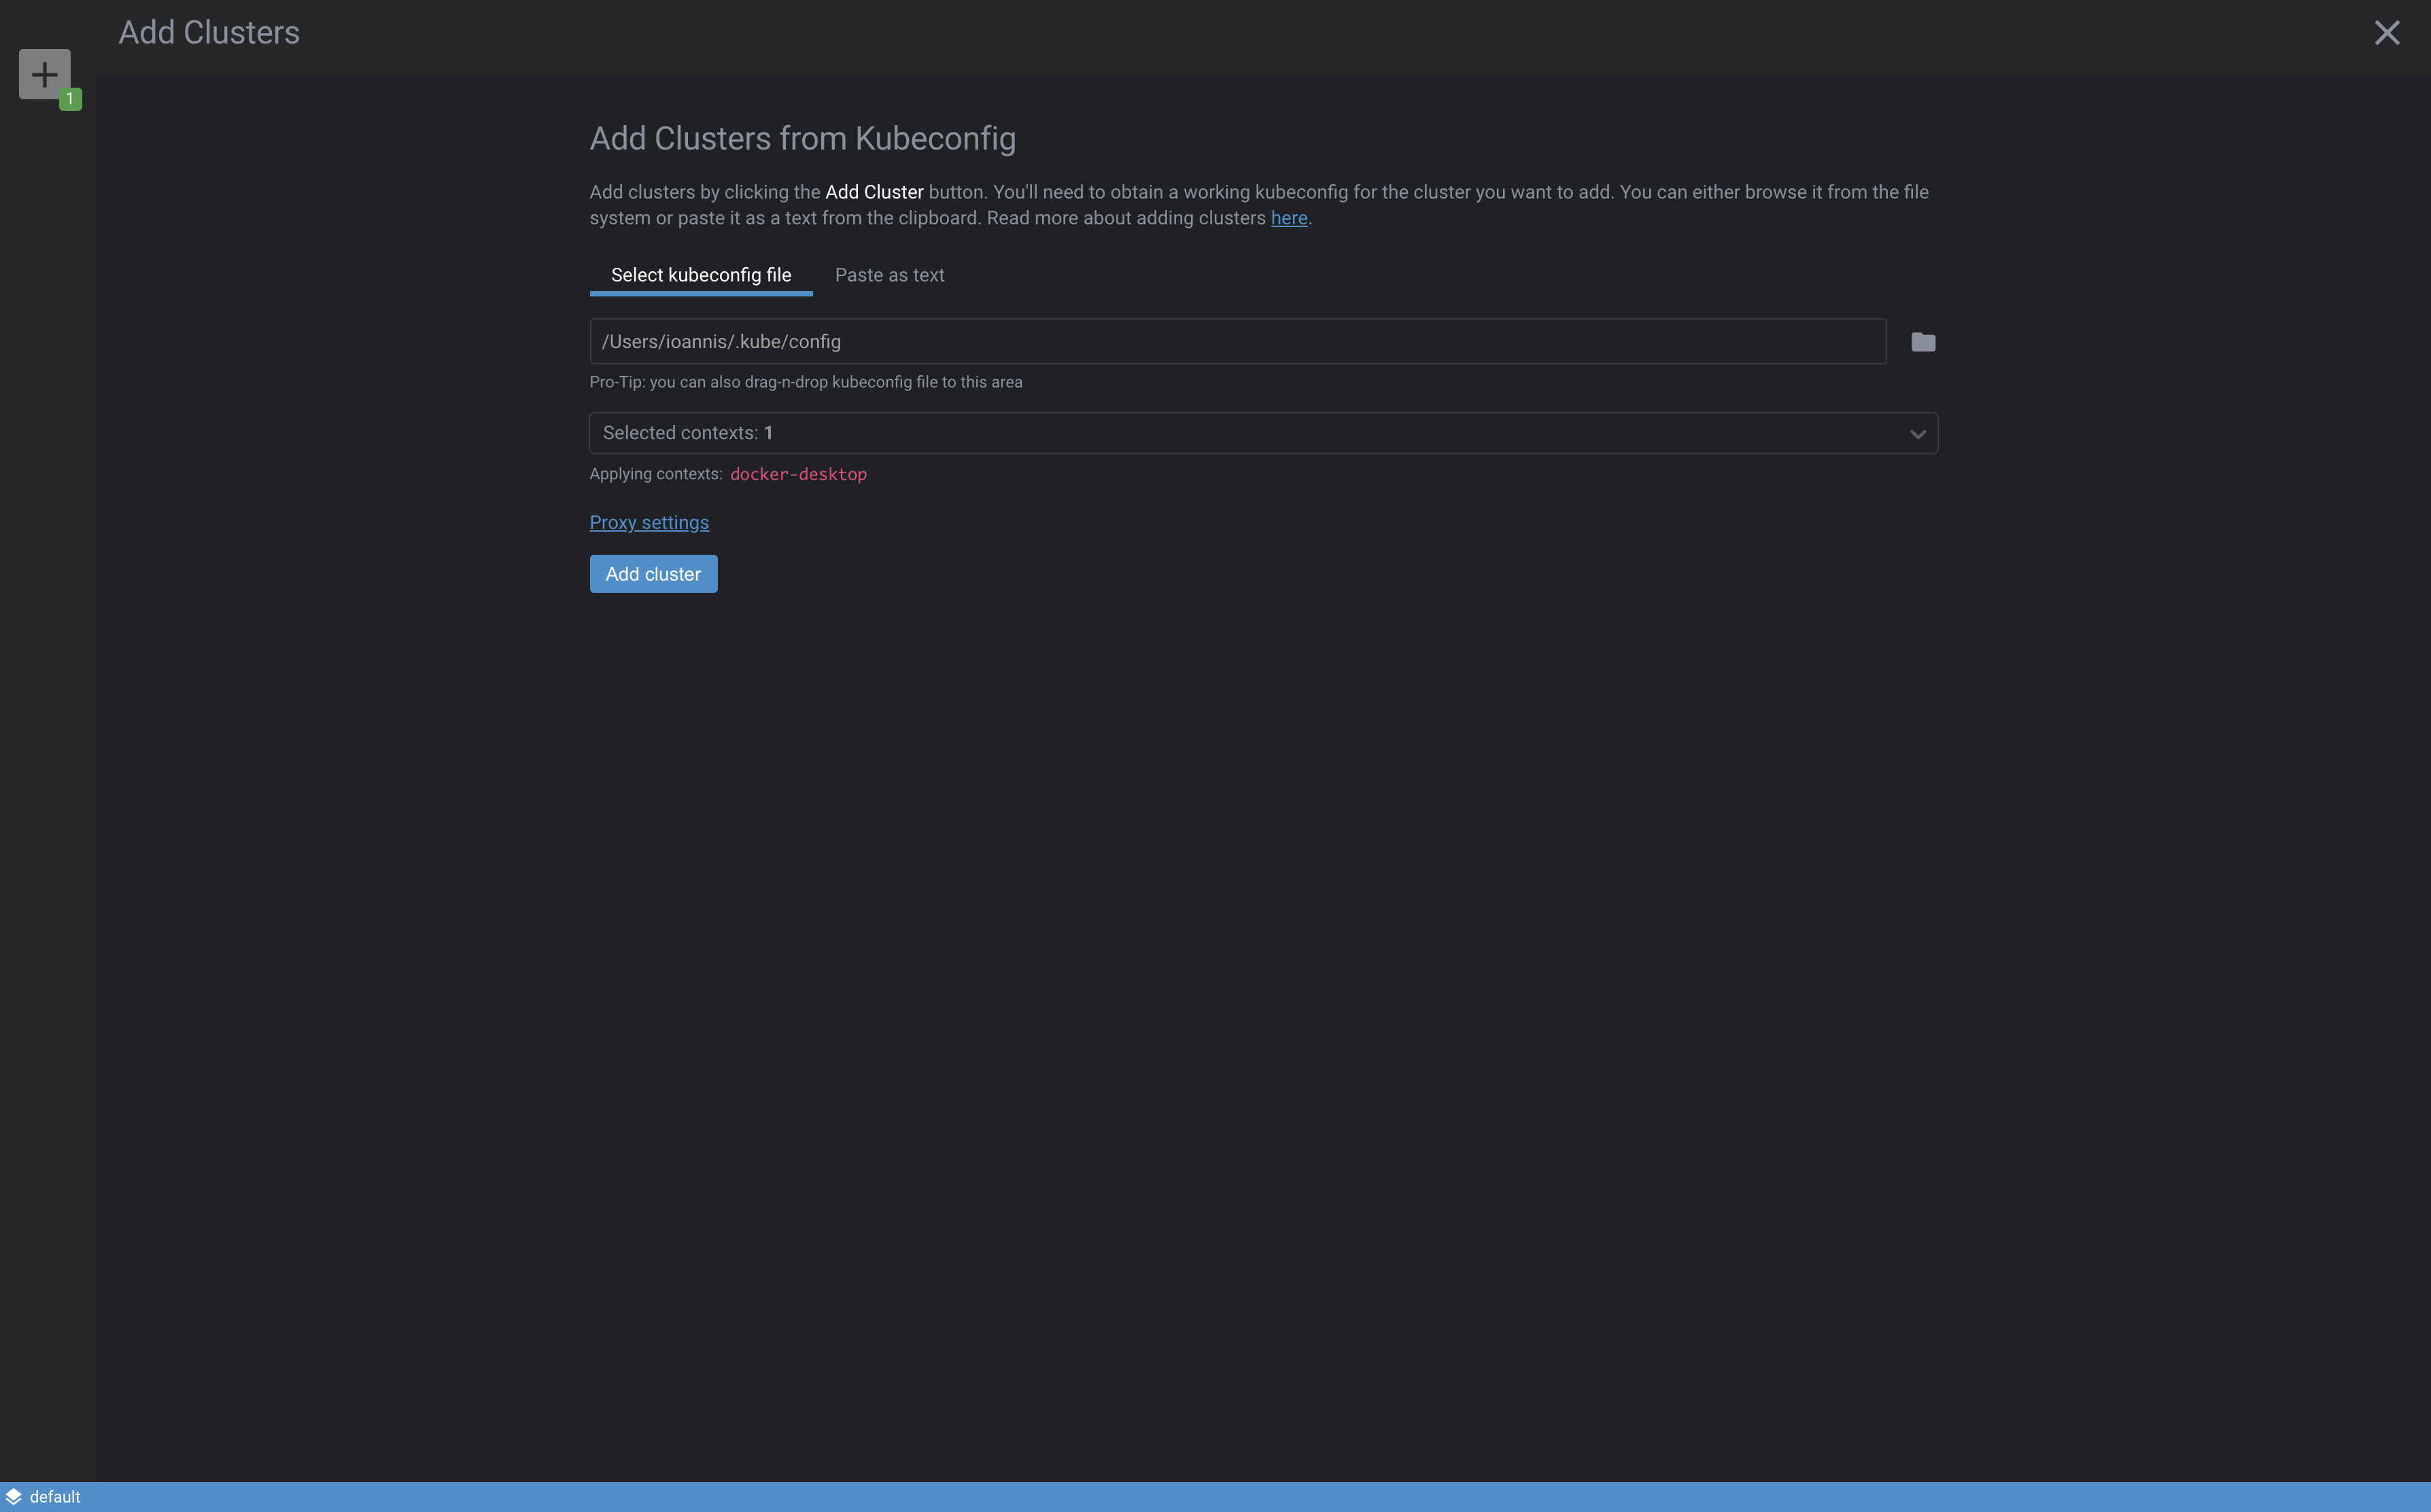
The first thing we have to do when we open Lens, is to add our cluster. Select the path for your kubeconfig file and Add cluster.
After that, we have a dashboard-like interface with our cluster and everything in it.
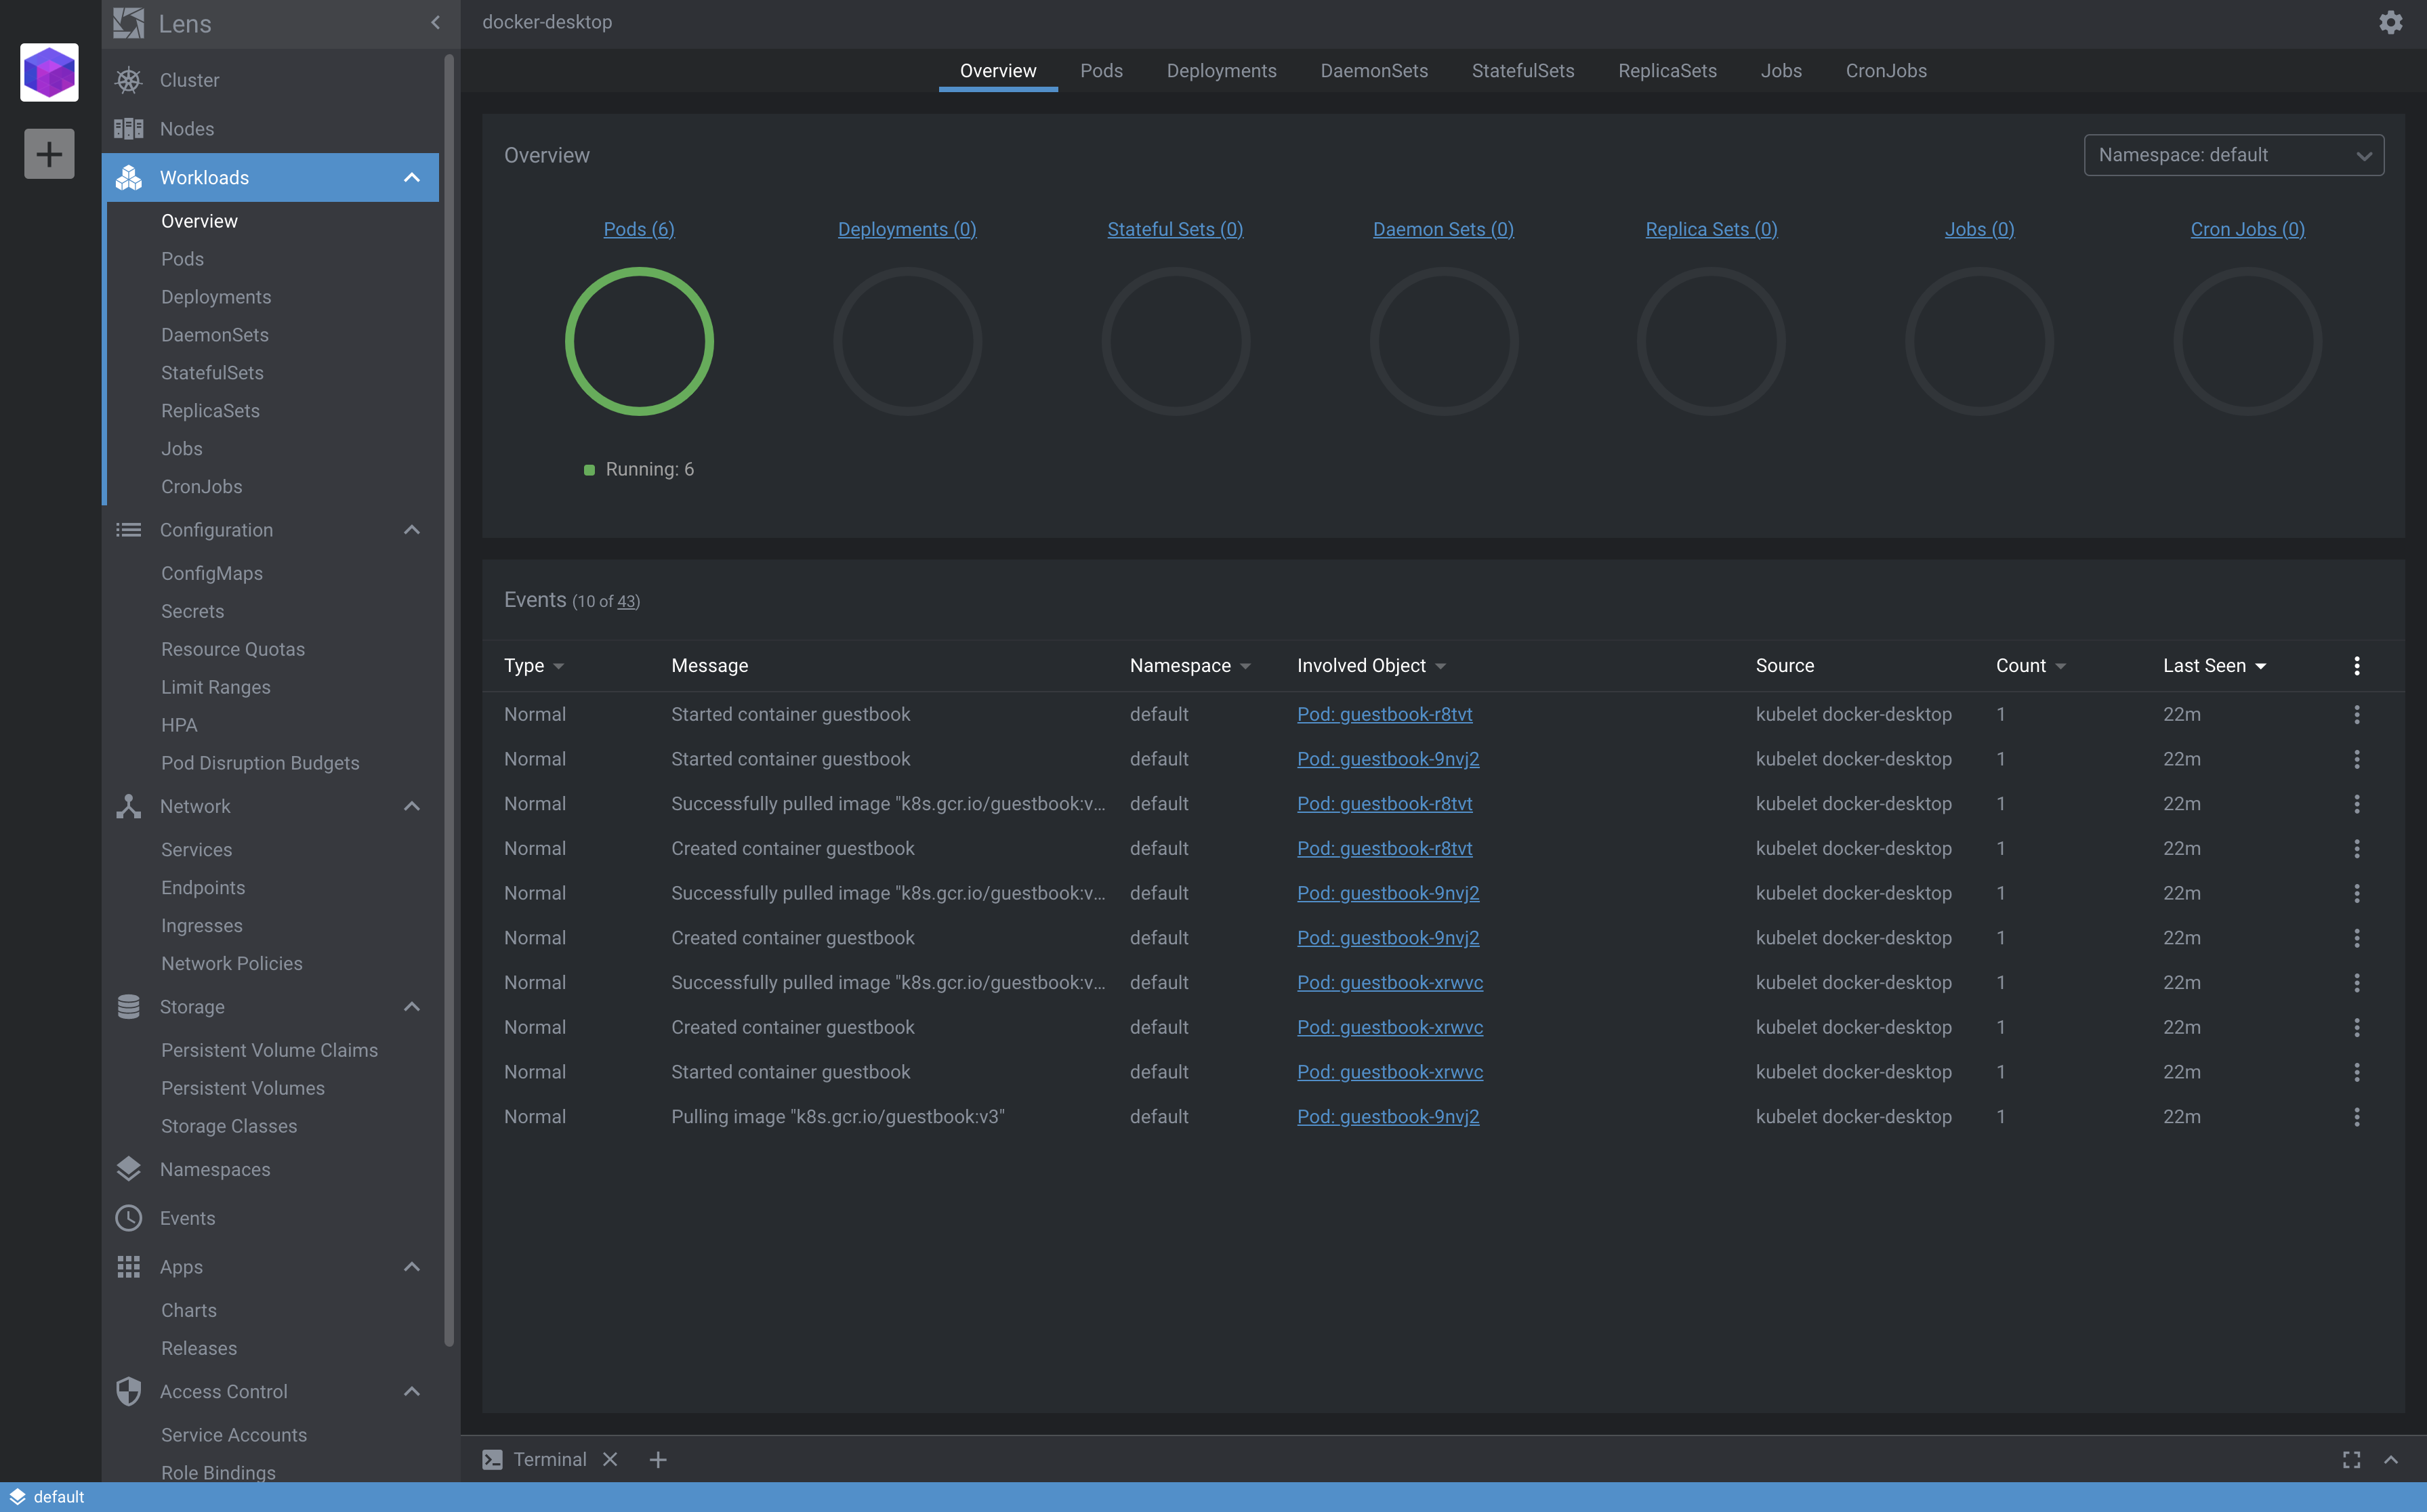
We can view anything related to our workloads, pods, deployments, daemonsets, etc. Even more, we can check and validate all our Configuration, Networking, Storage, Namespaces, Events, Access Control, and Apps.
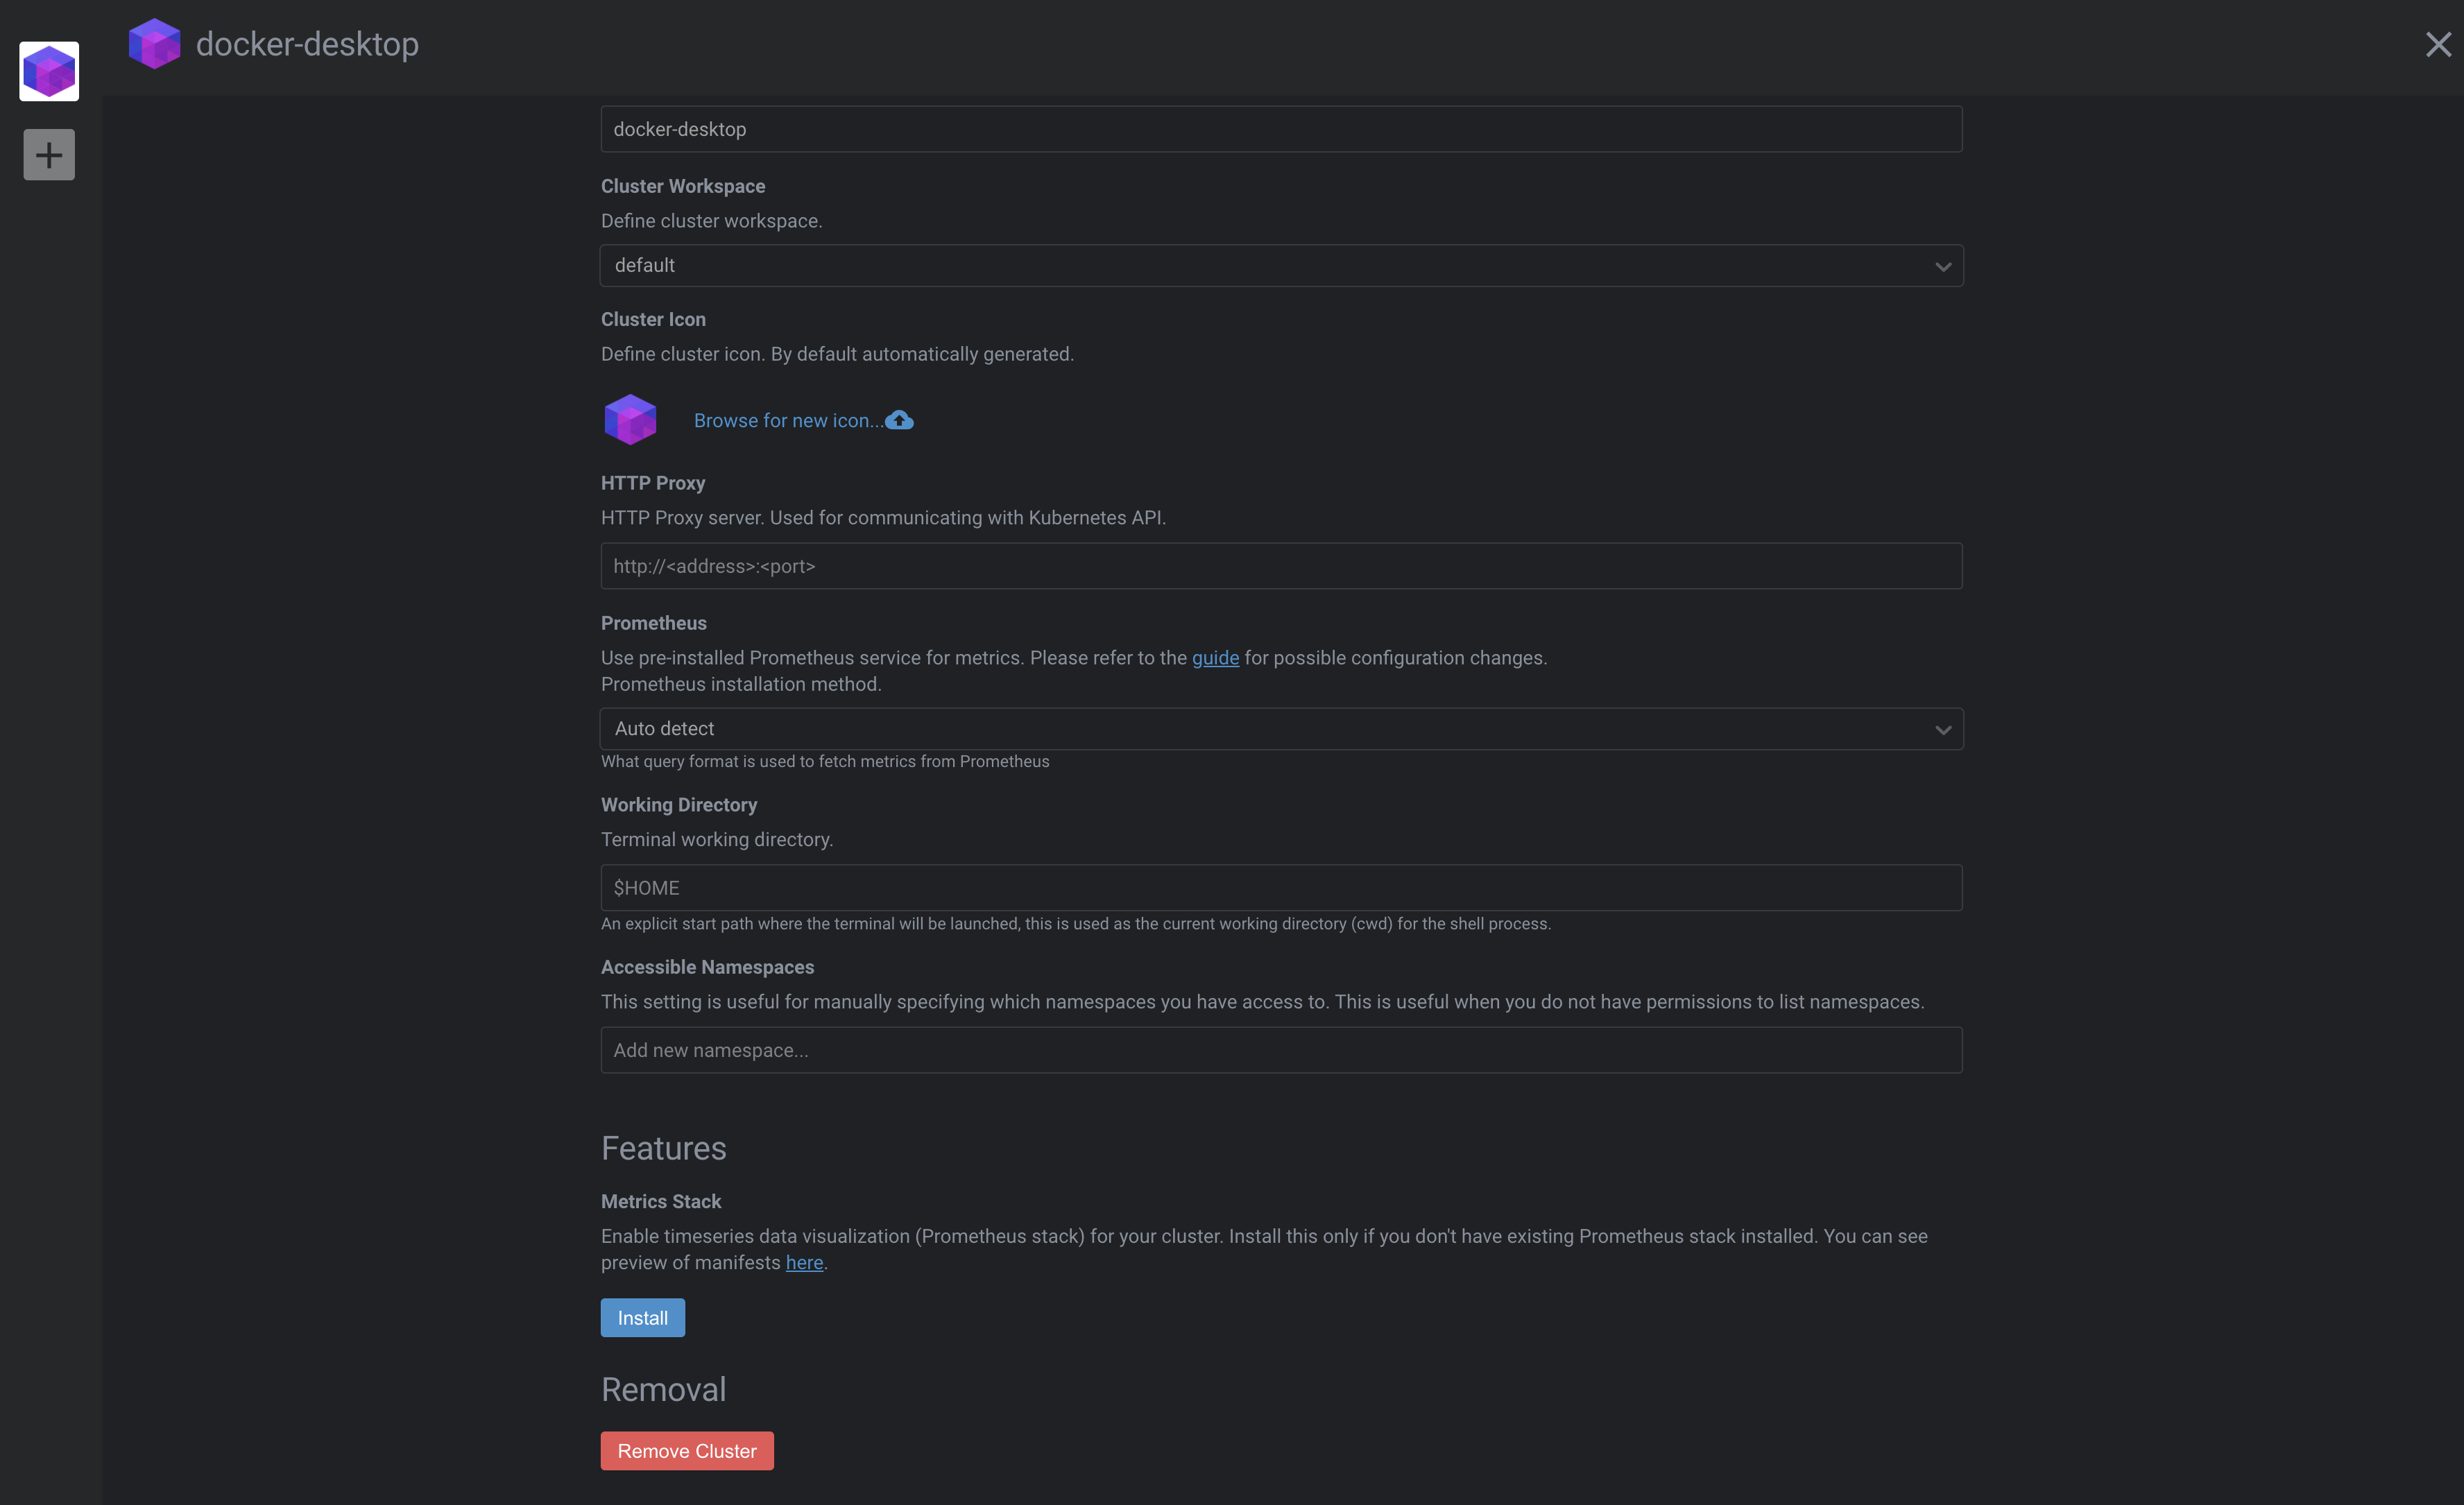
To enable monitoring for our nodes also we have to install Prometheus but Lens makes this amazingly easy, with a push of a button.
Head to settings and select Install Metrics Stack.
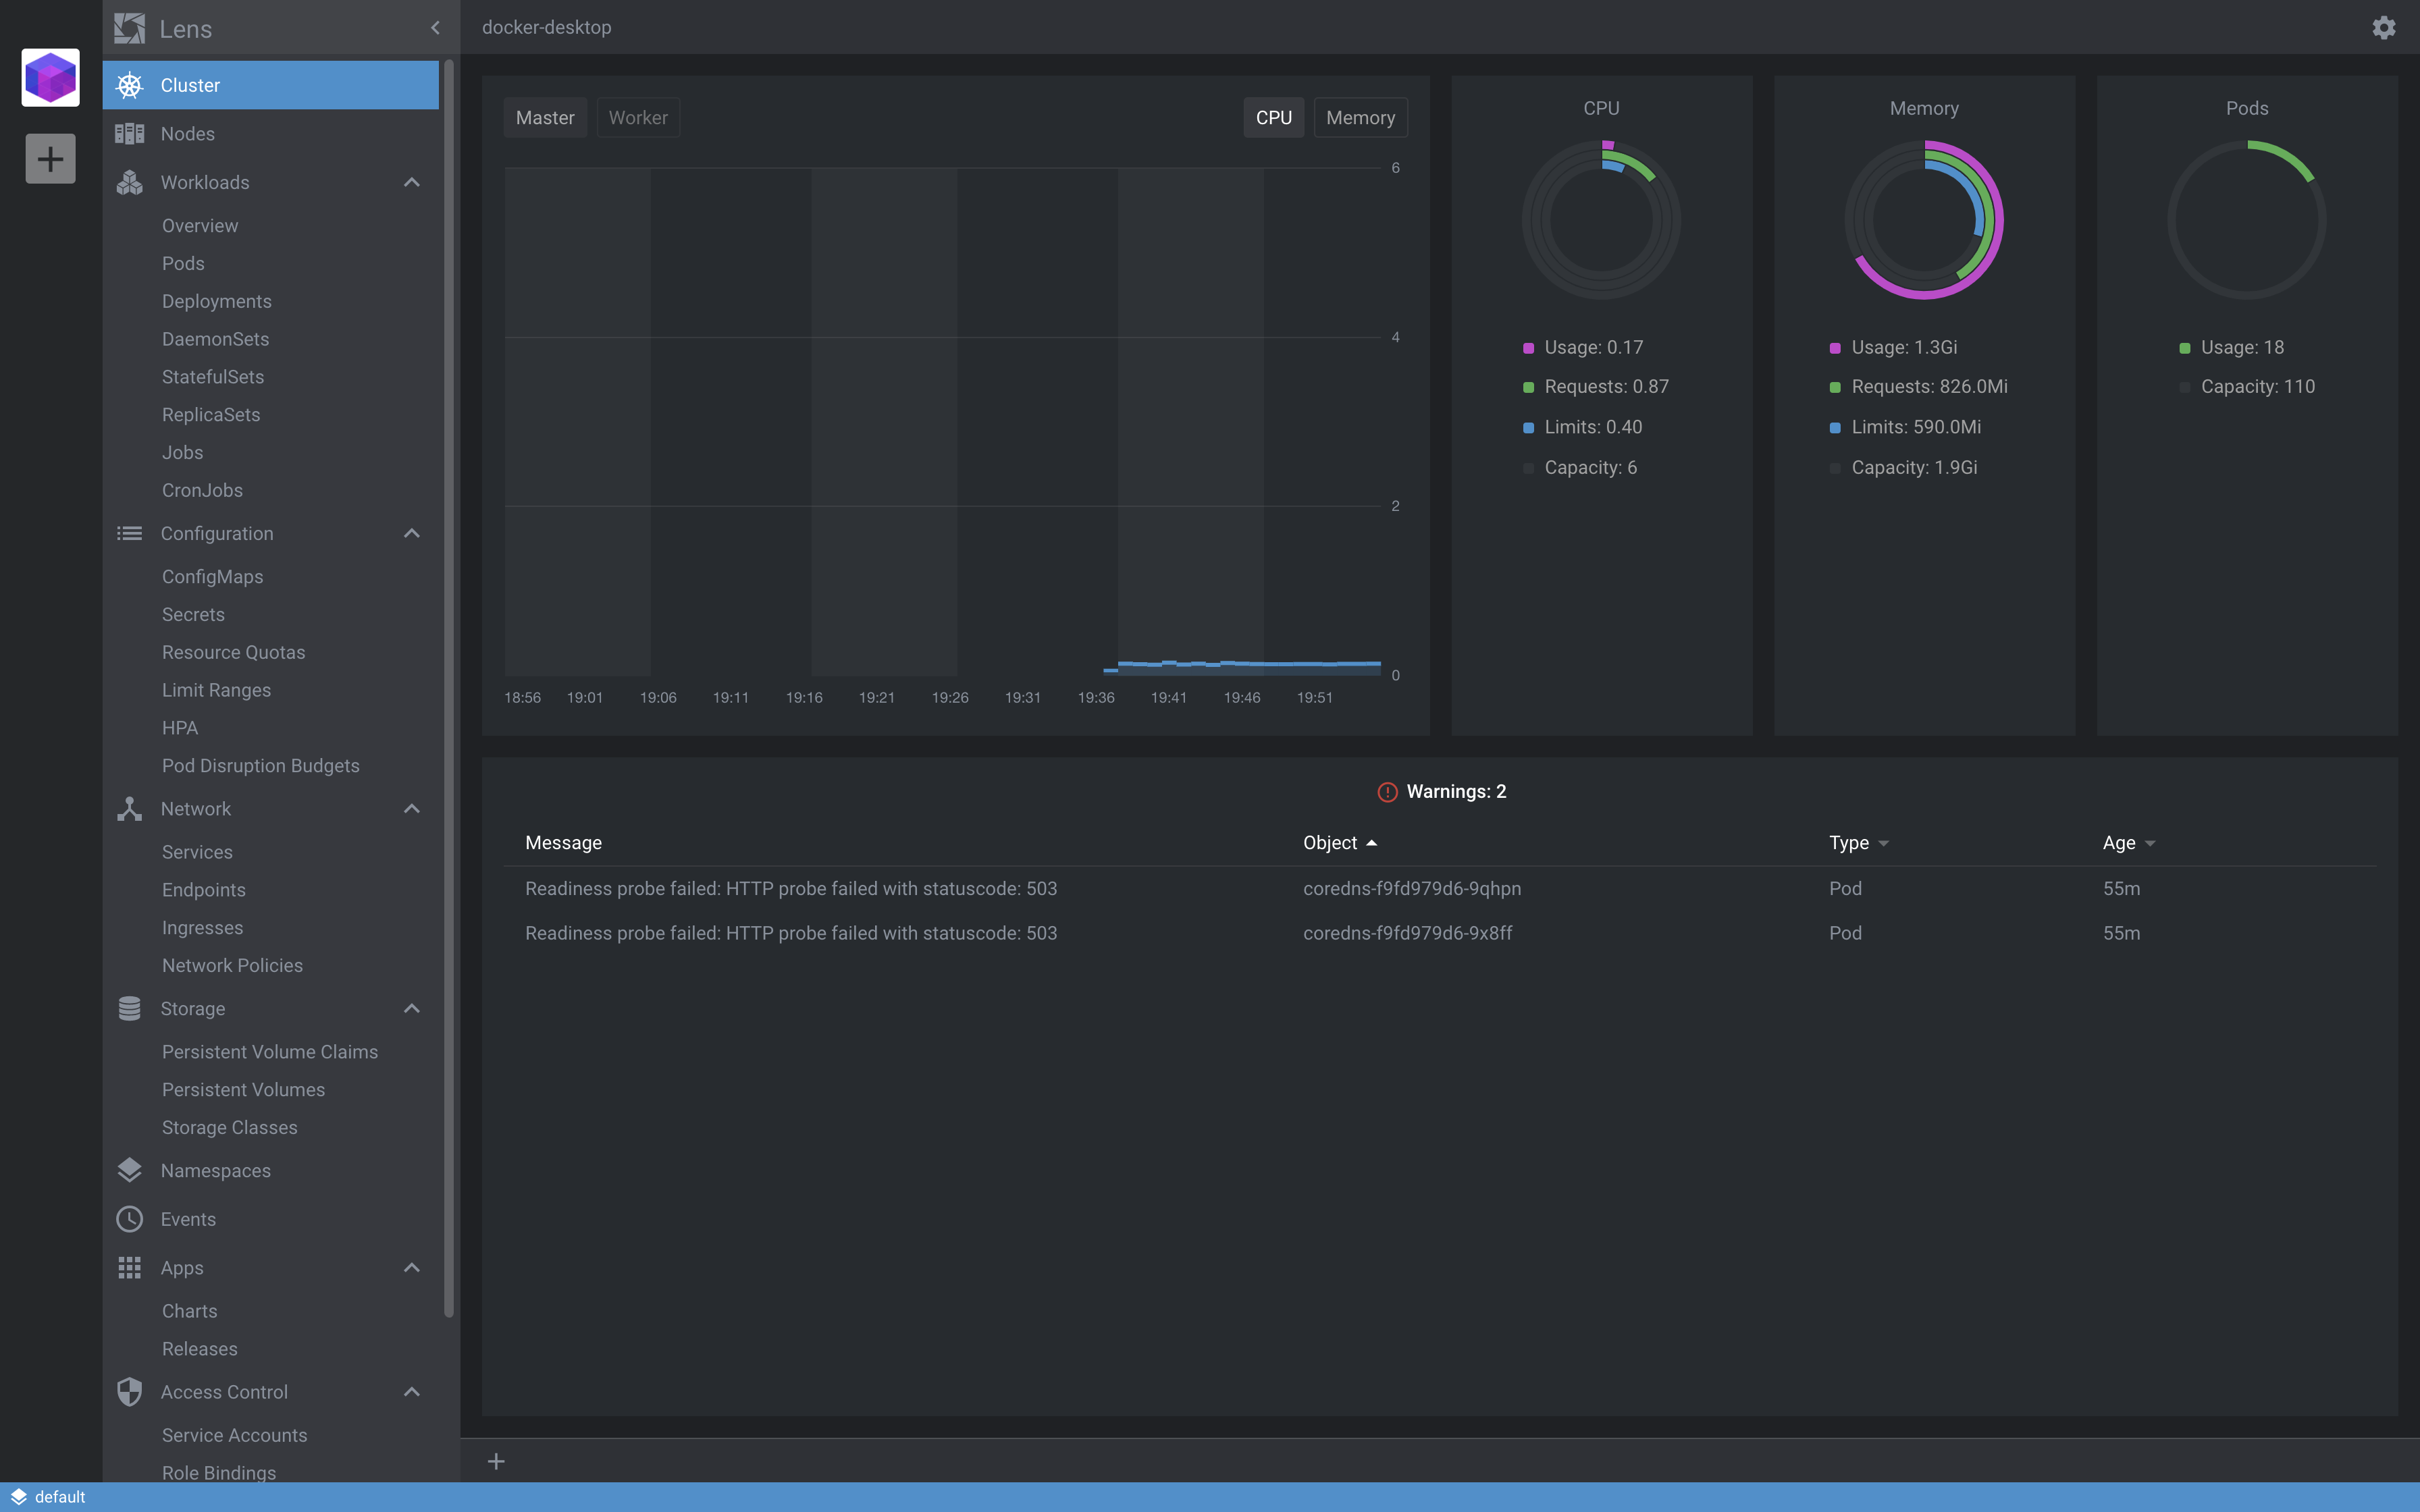
After a couple of minutes, check the Cluster view, you’ll see CPU and Memory information being displayed for your nodes.
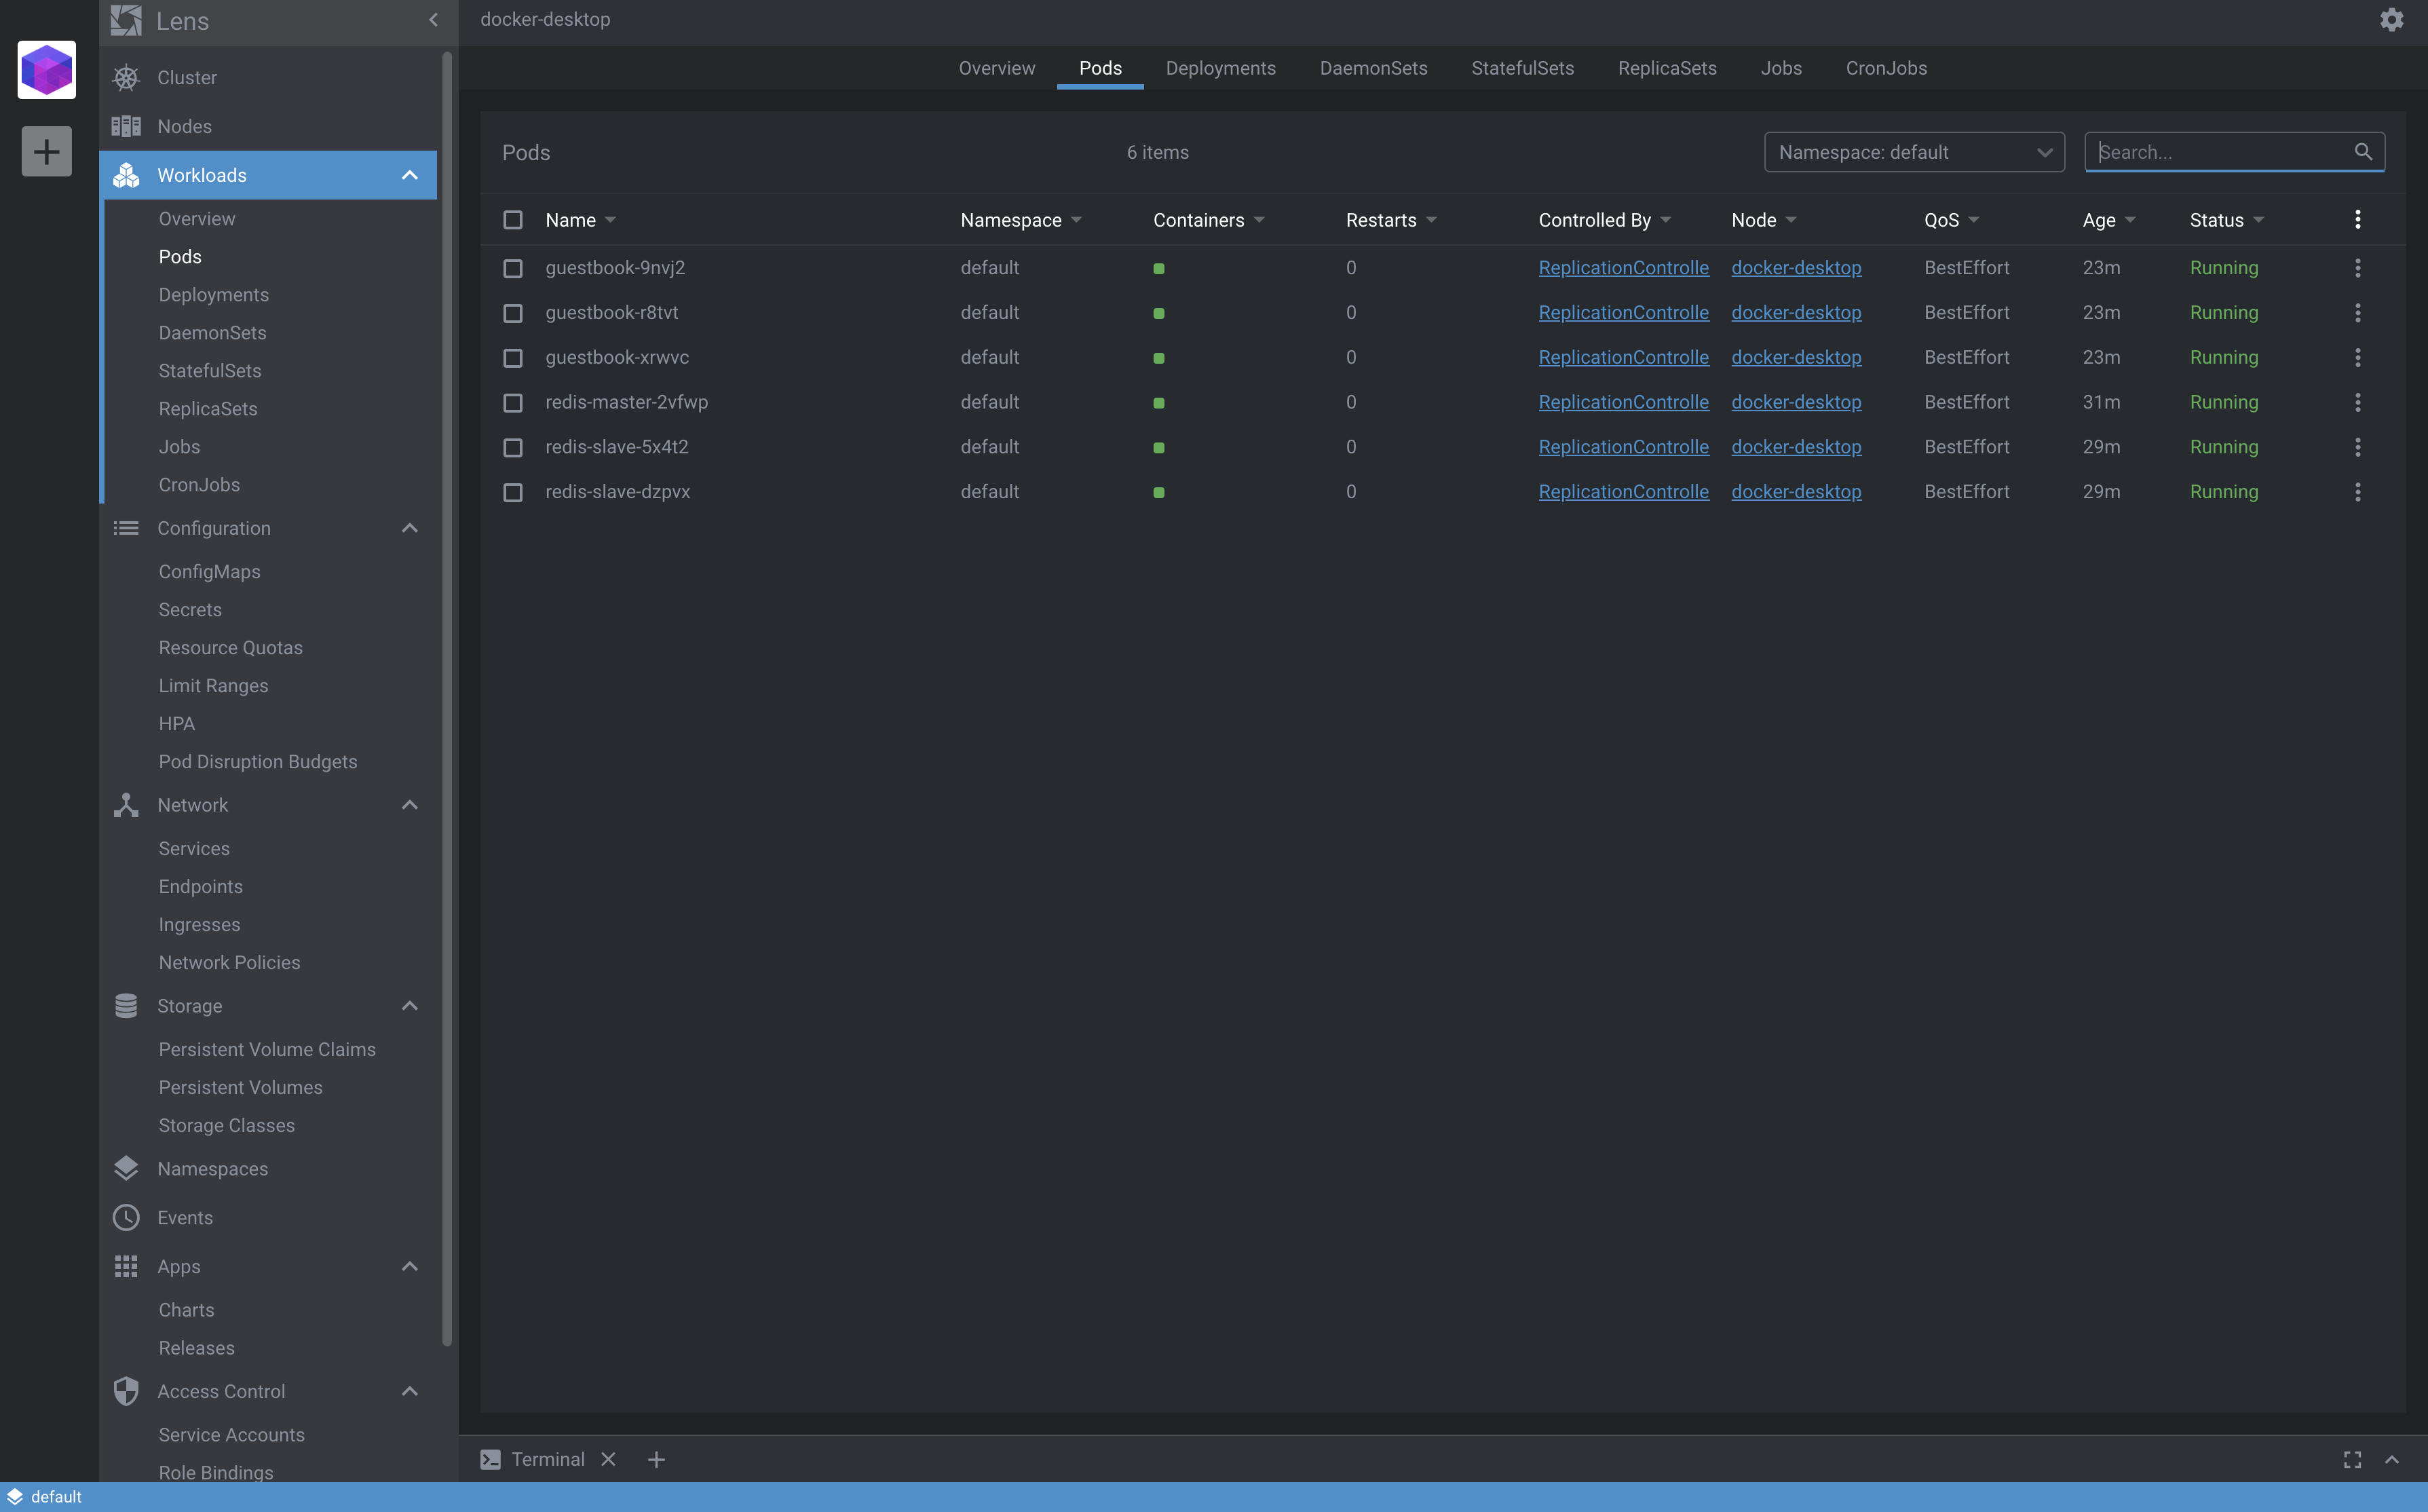
Heading to the Pods view, we see the 6 pods we have deployed for our guestbook application.
Selecting a pod will give more insights about it.
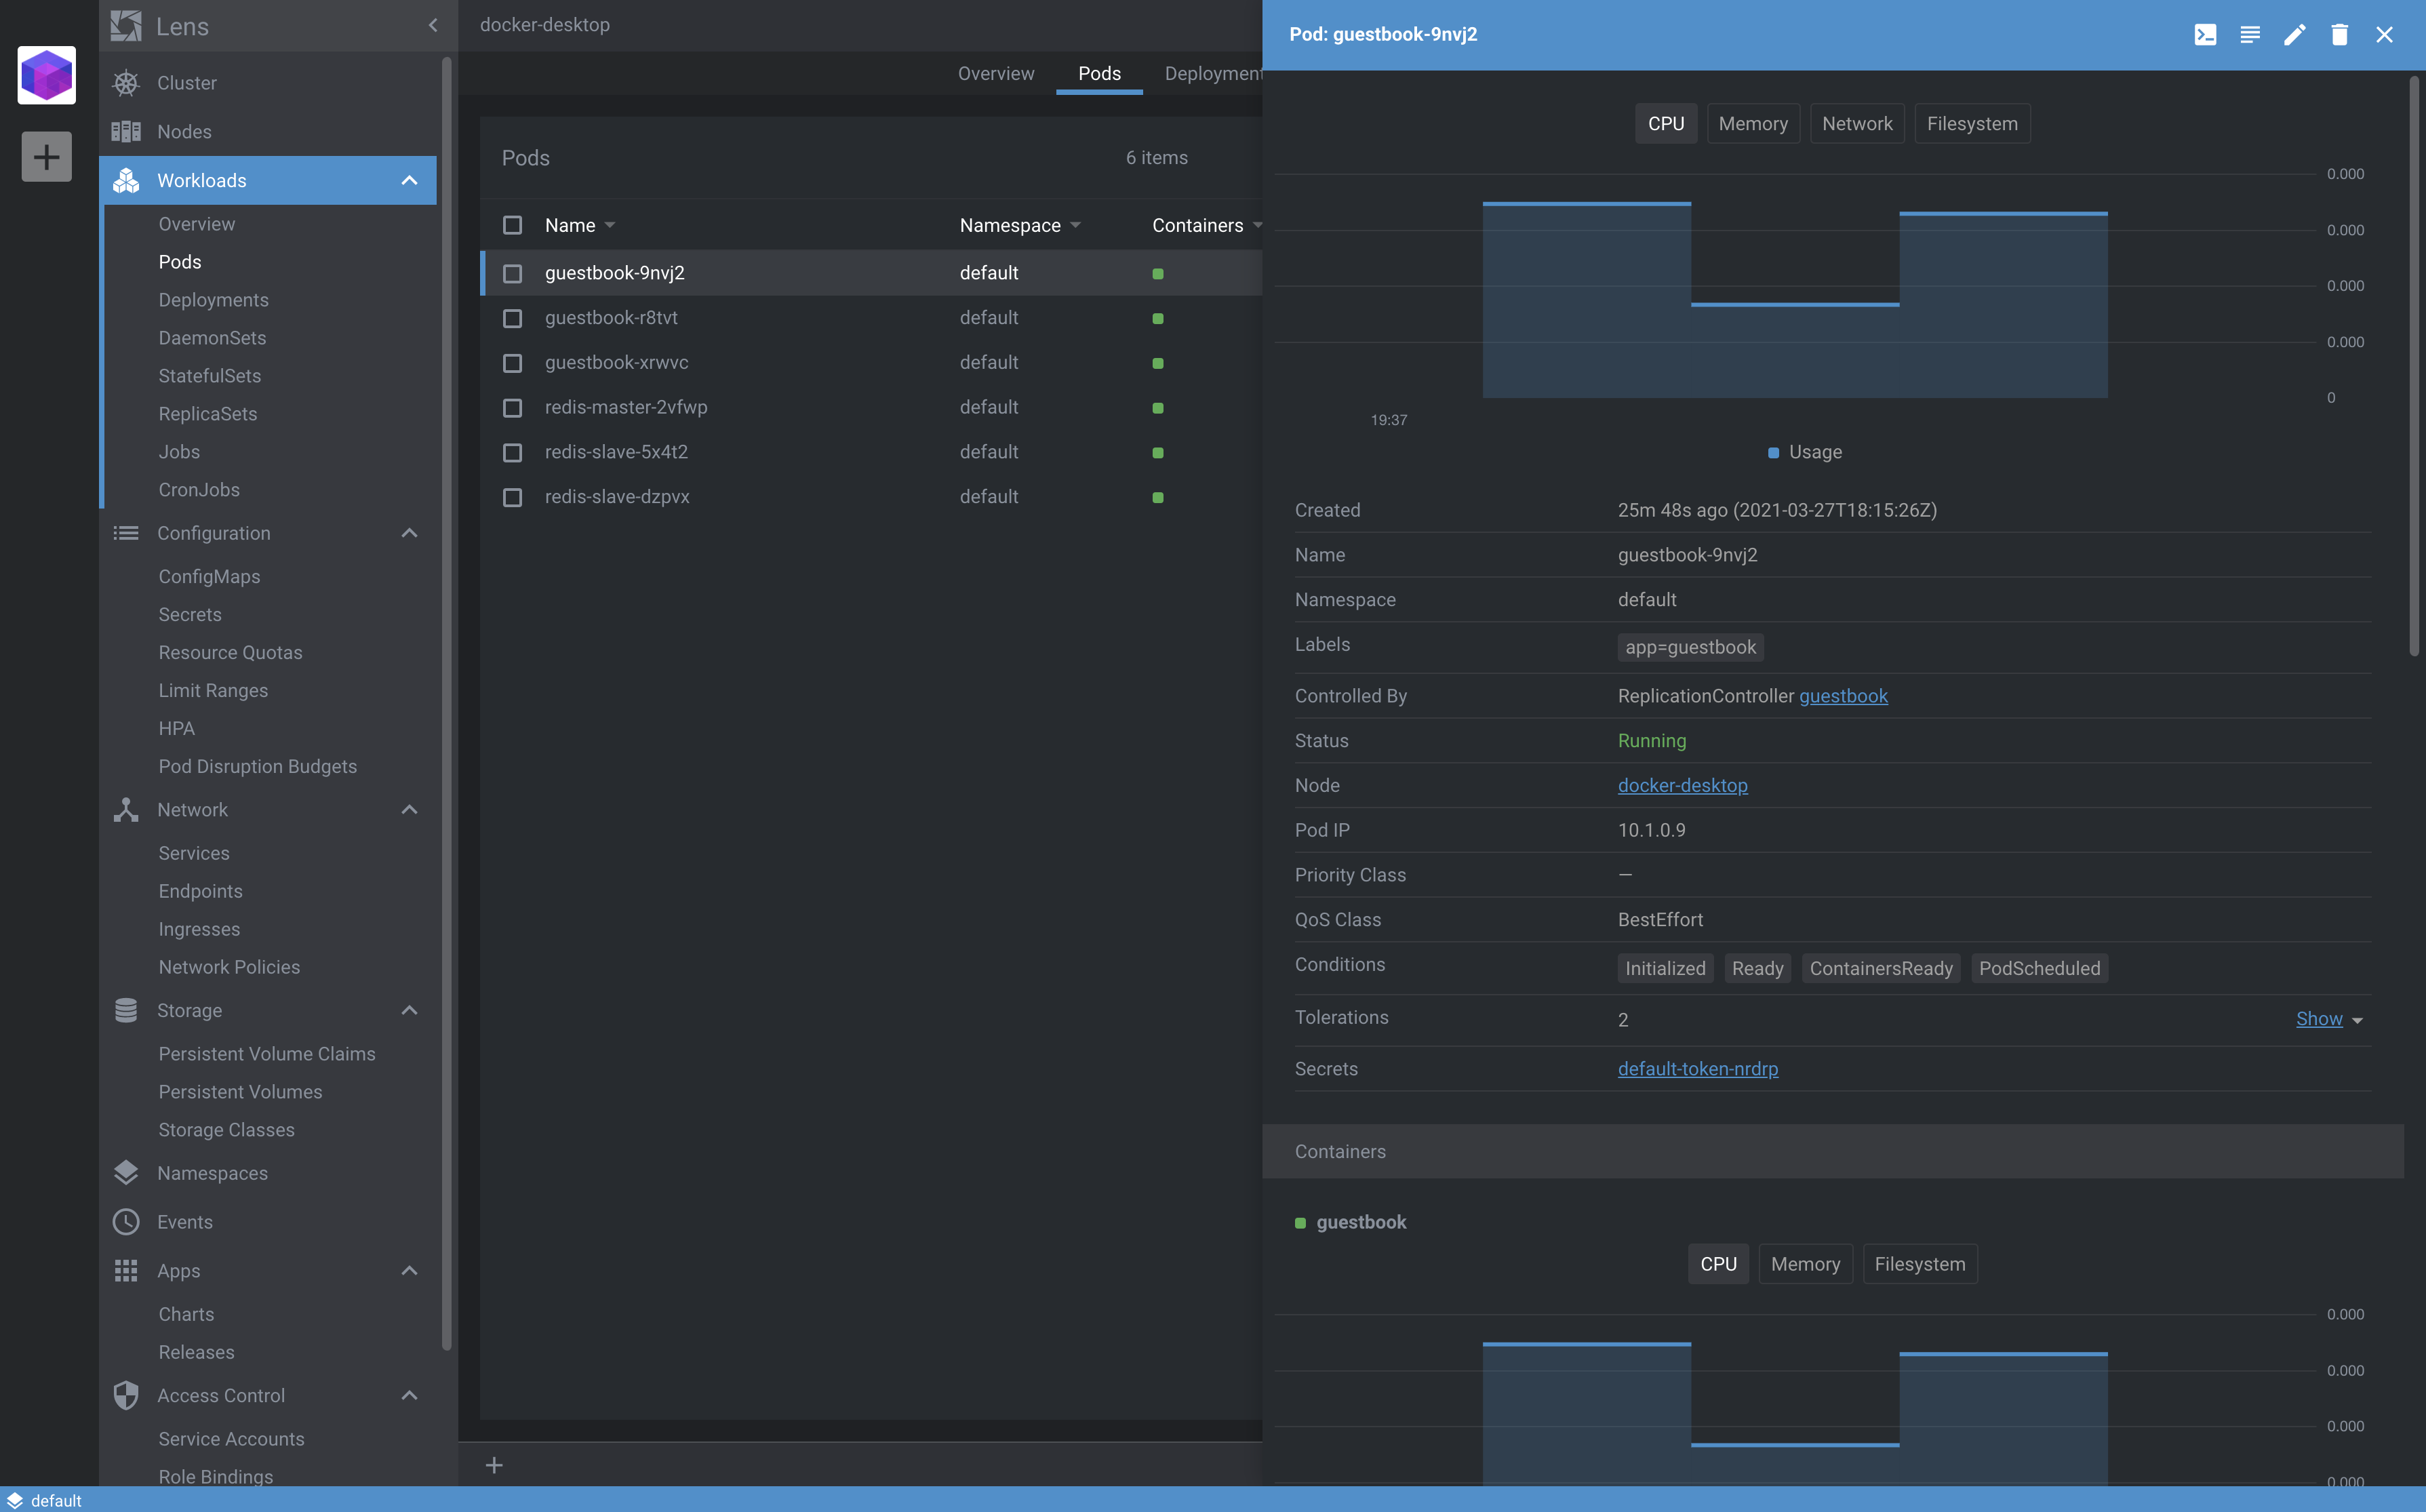
For every pod we have options to see the logs, edit its definition, or ssh into it.
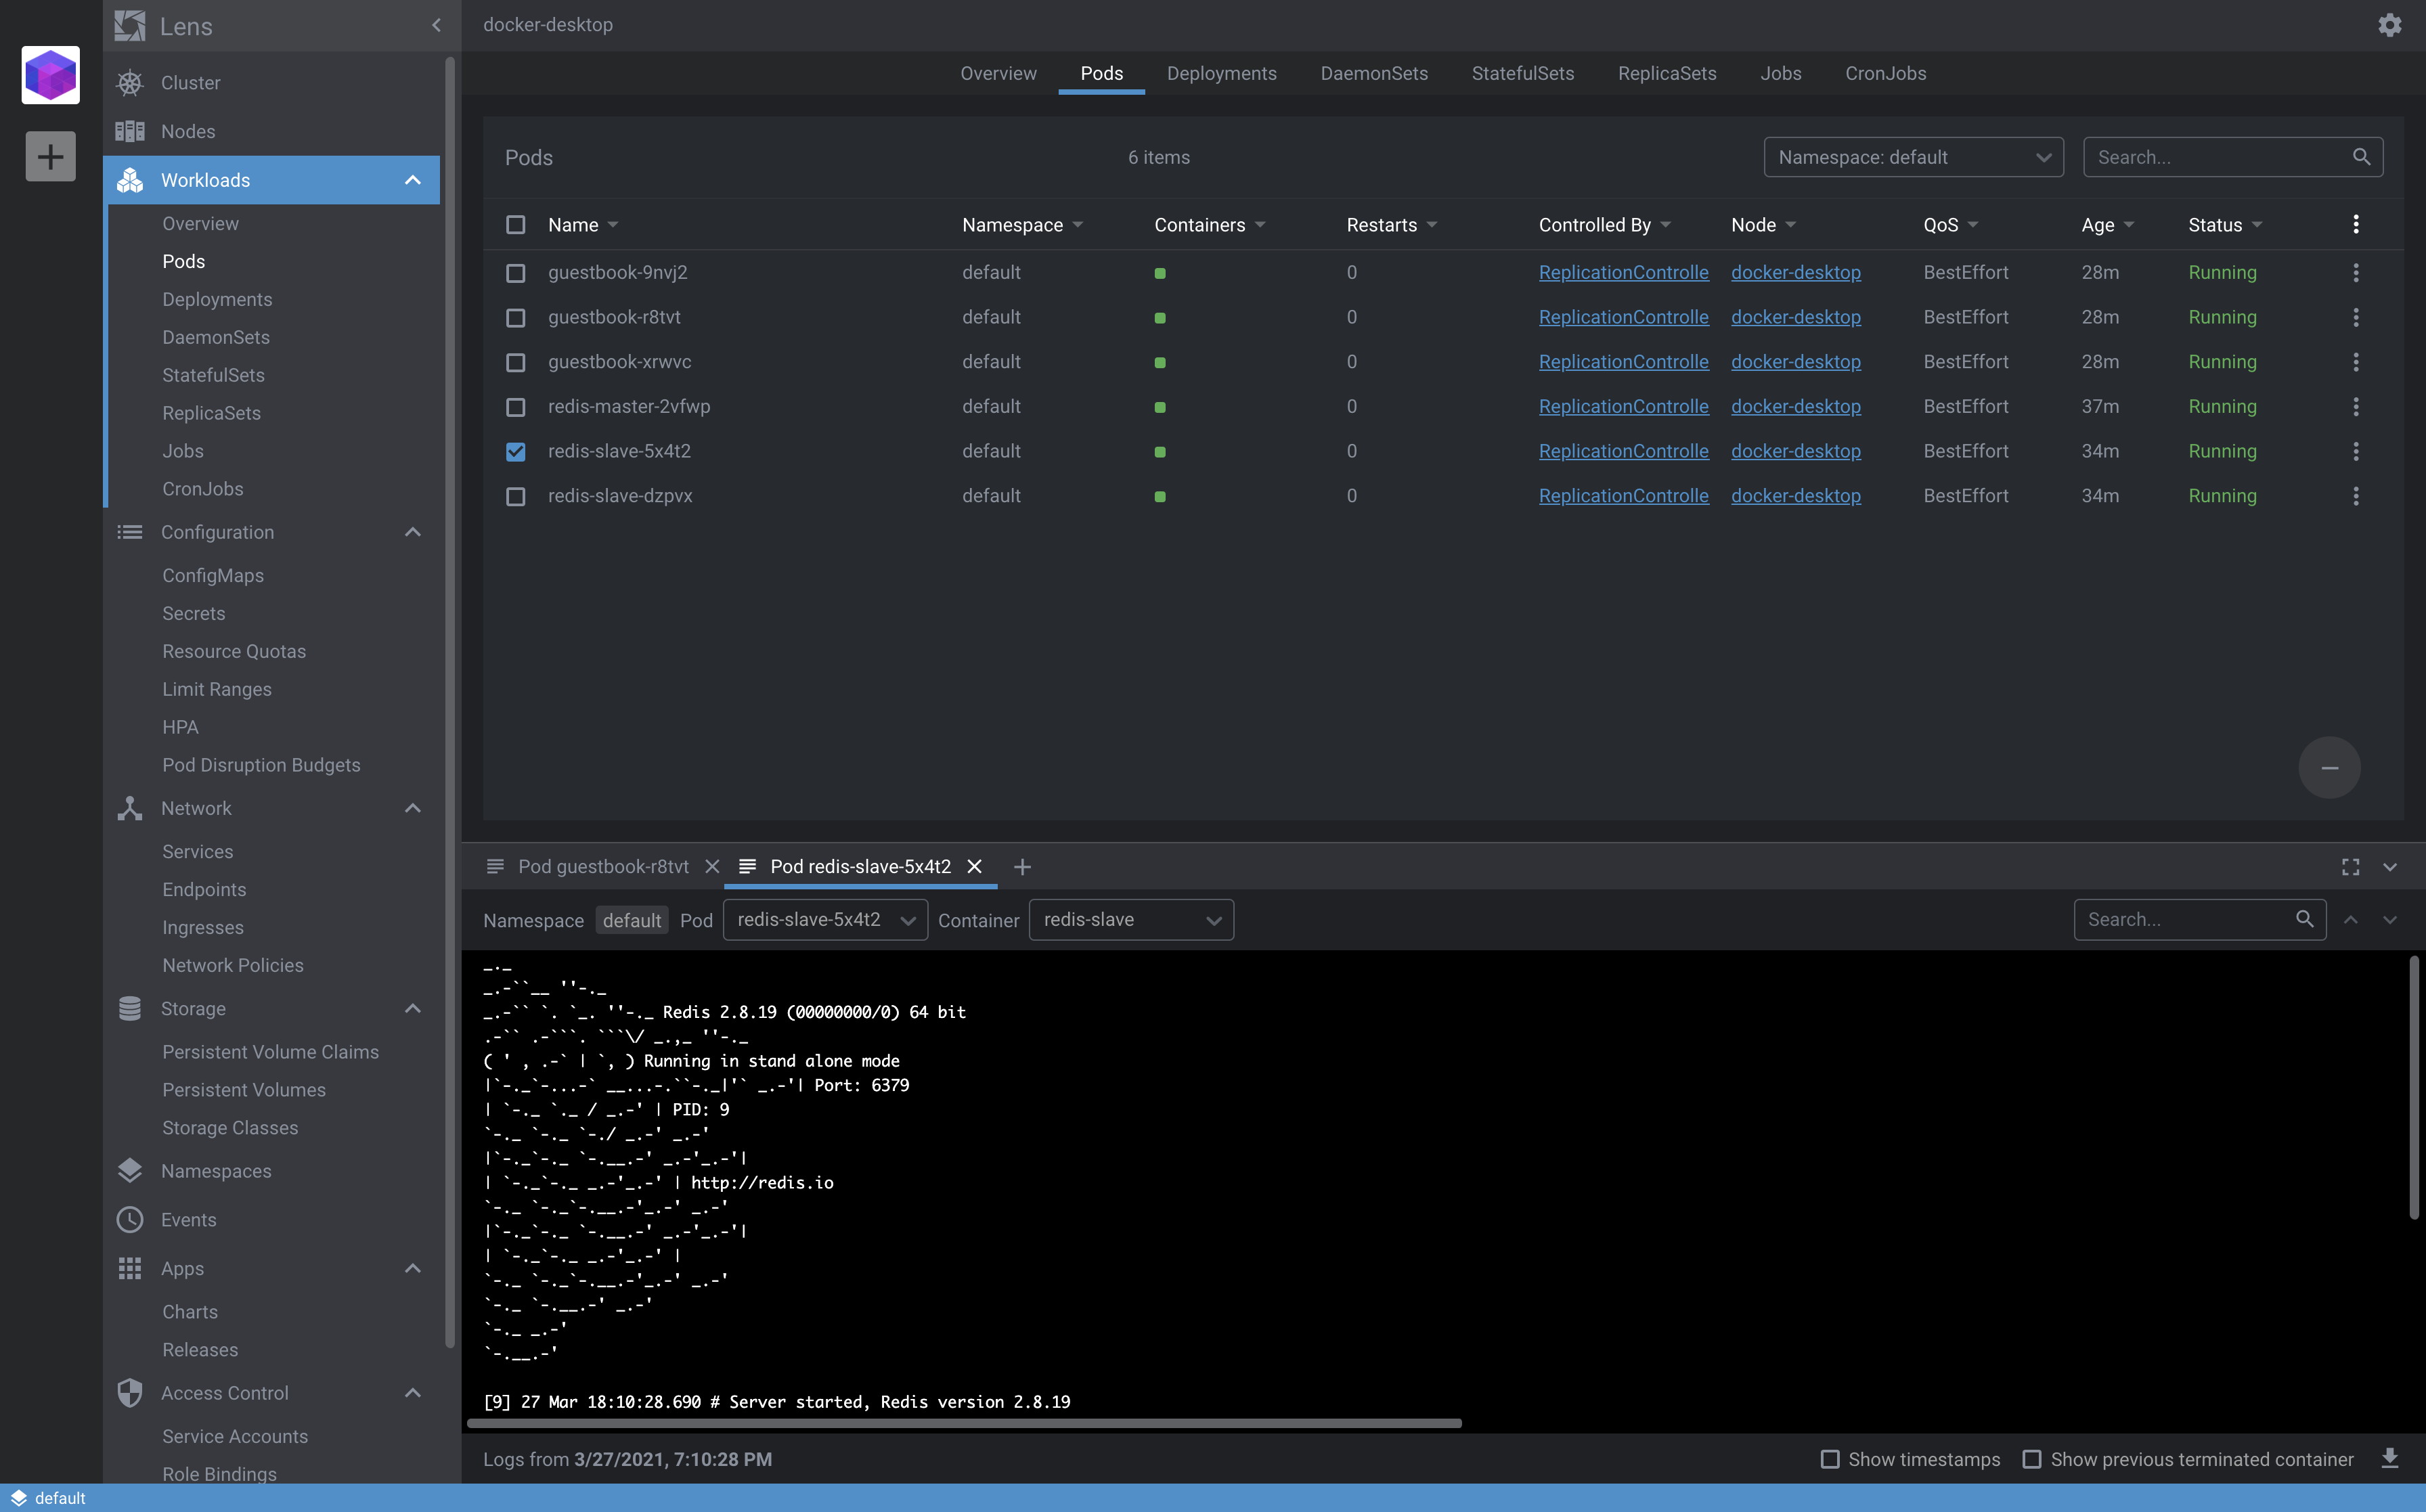
That’s quite handy for troubleshooting our cluster.
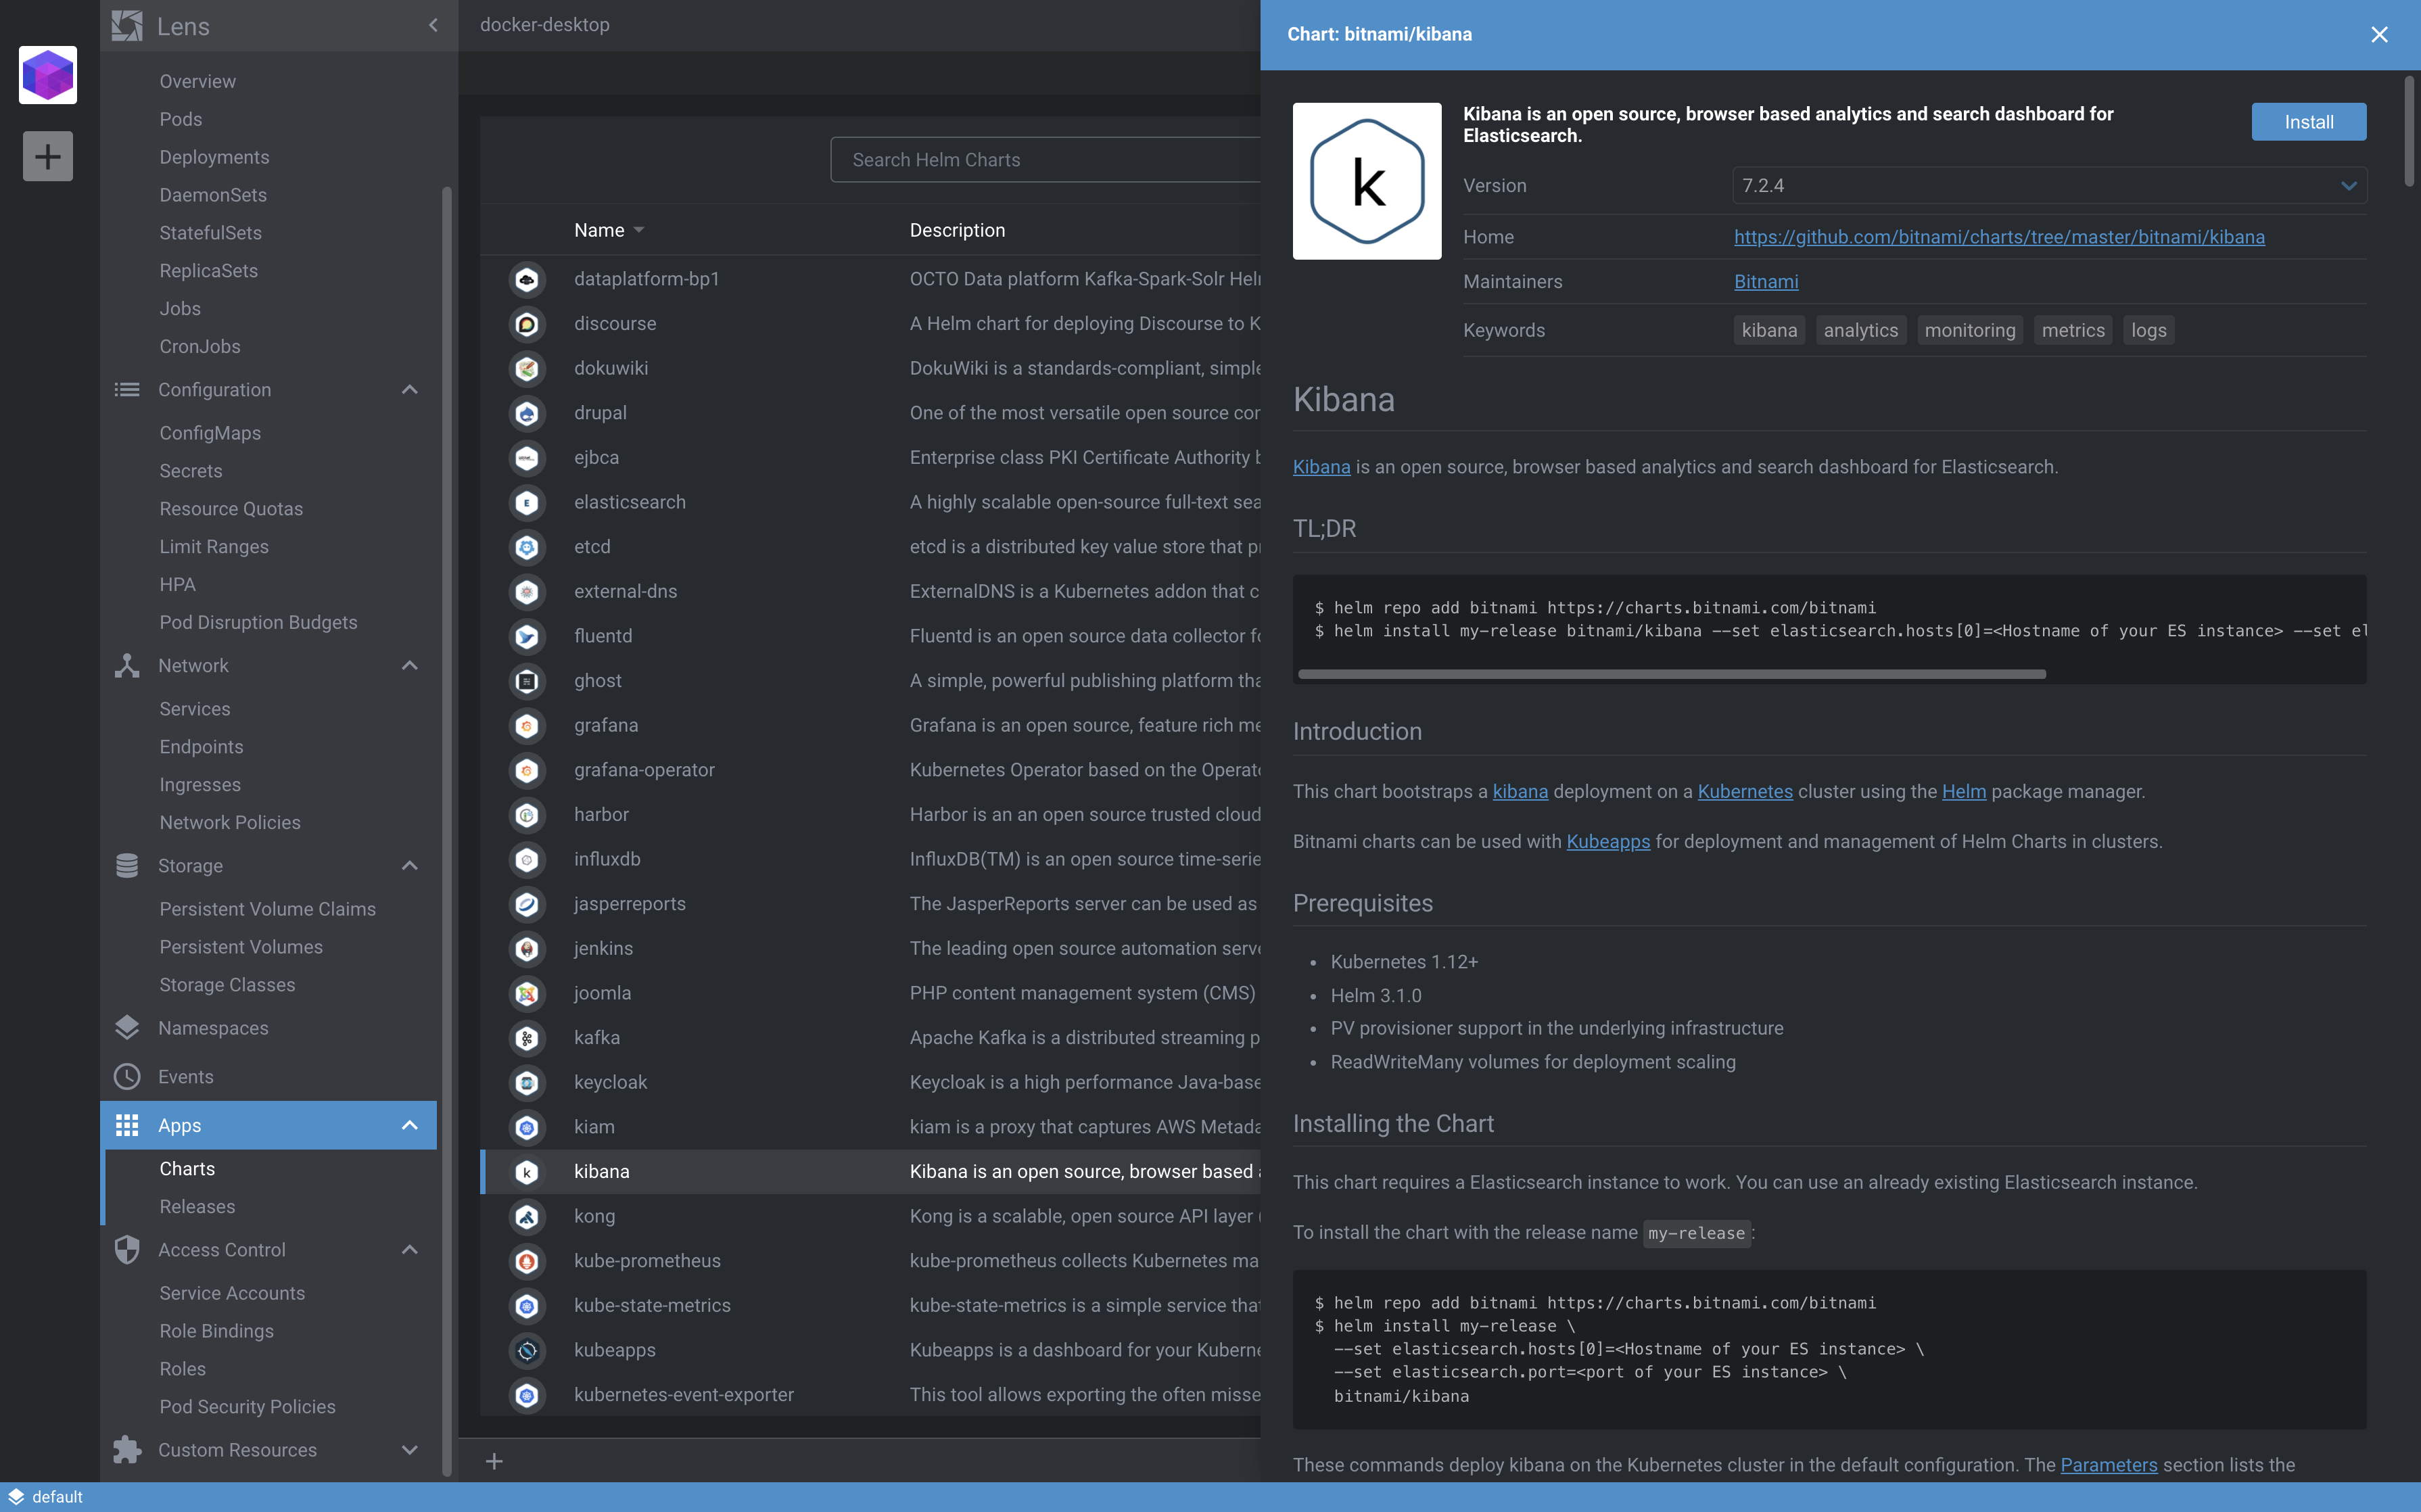
Lens has also a nice integration with Helm making it easy to install and manage Helm charts and releases in the Apps section.
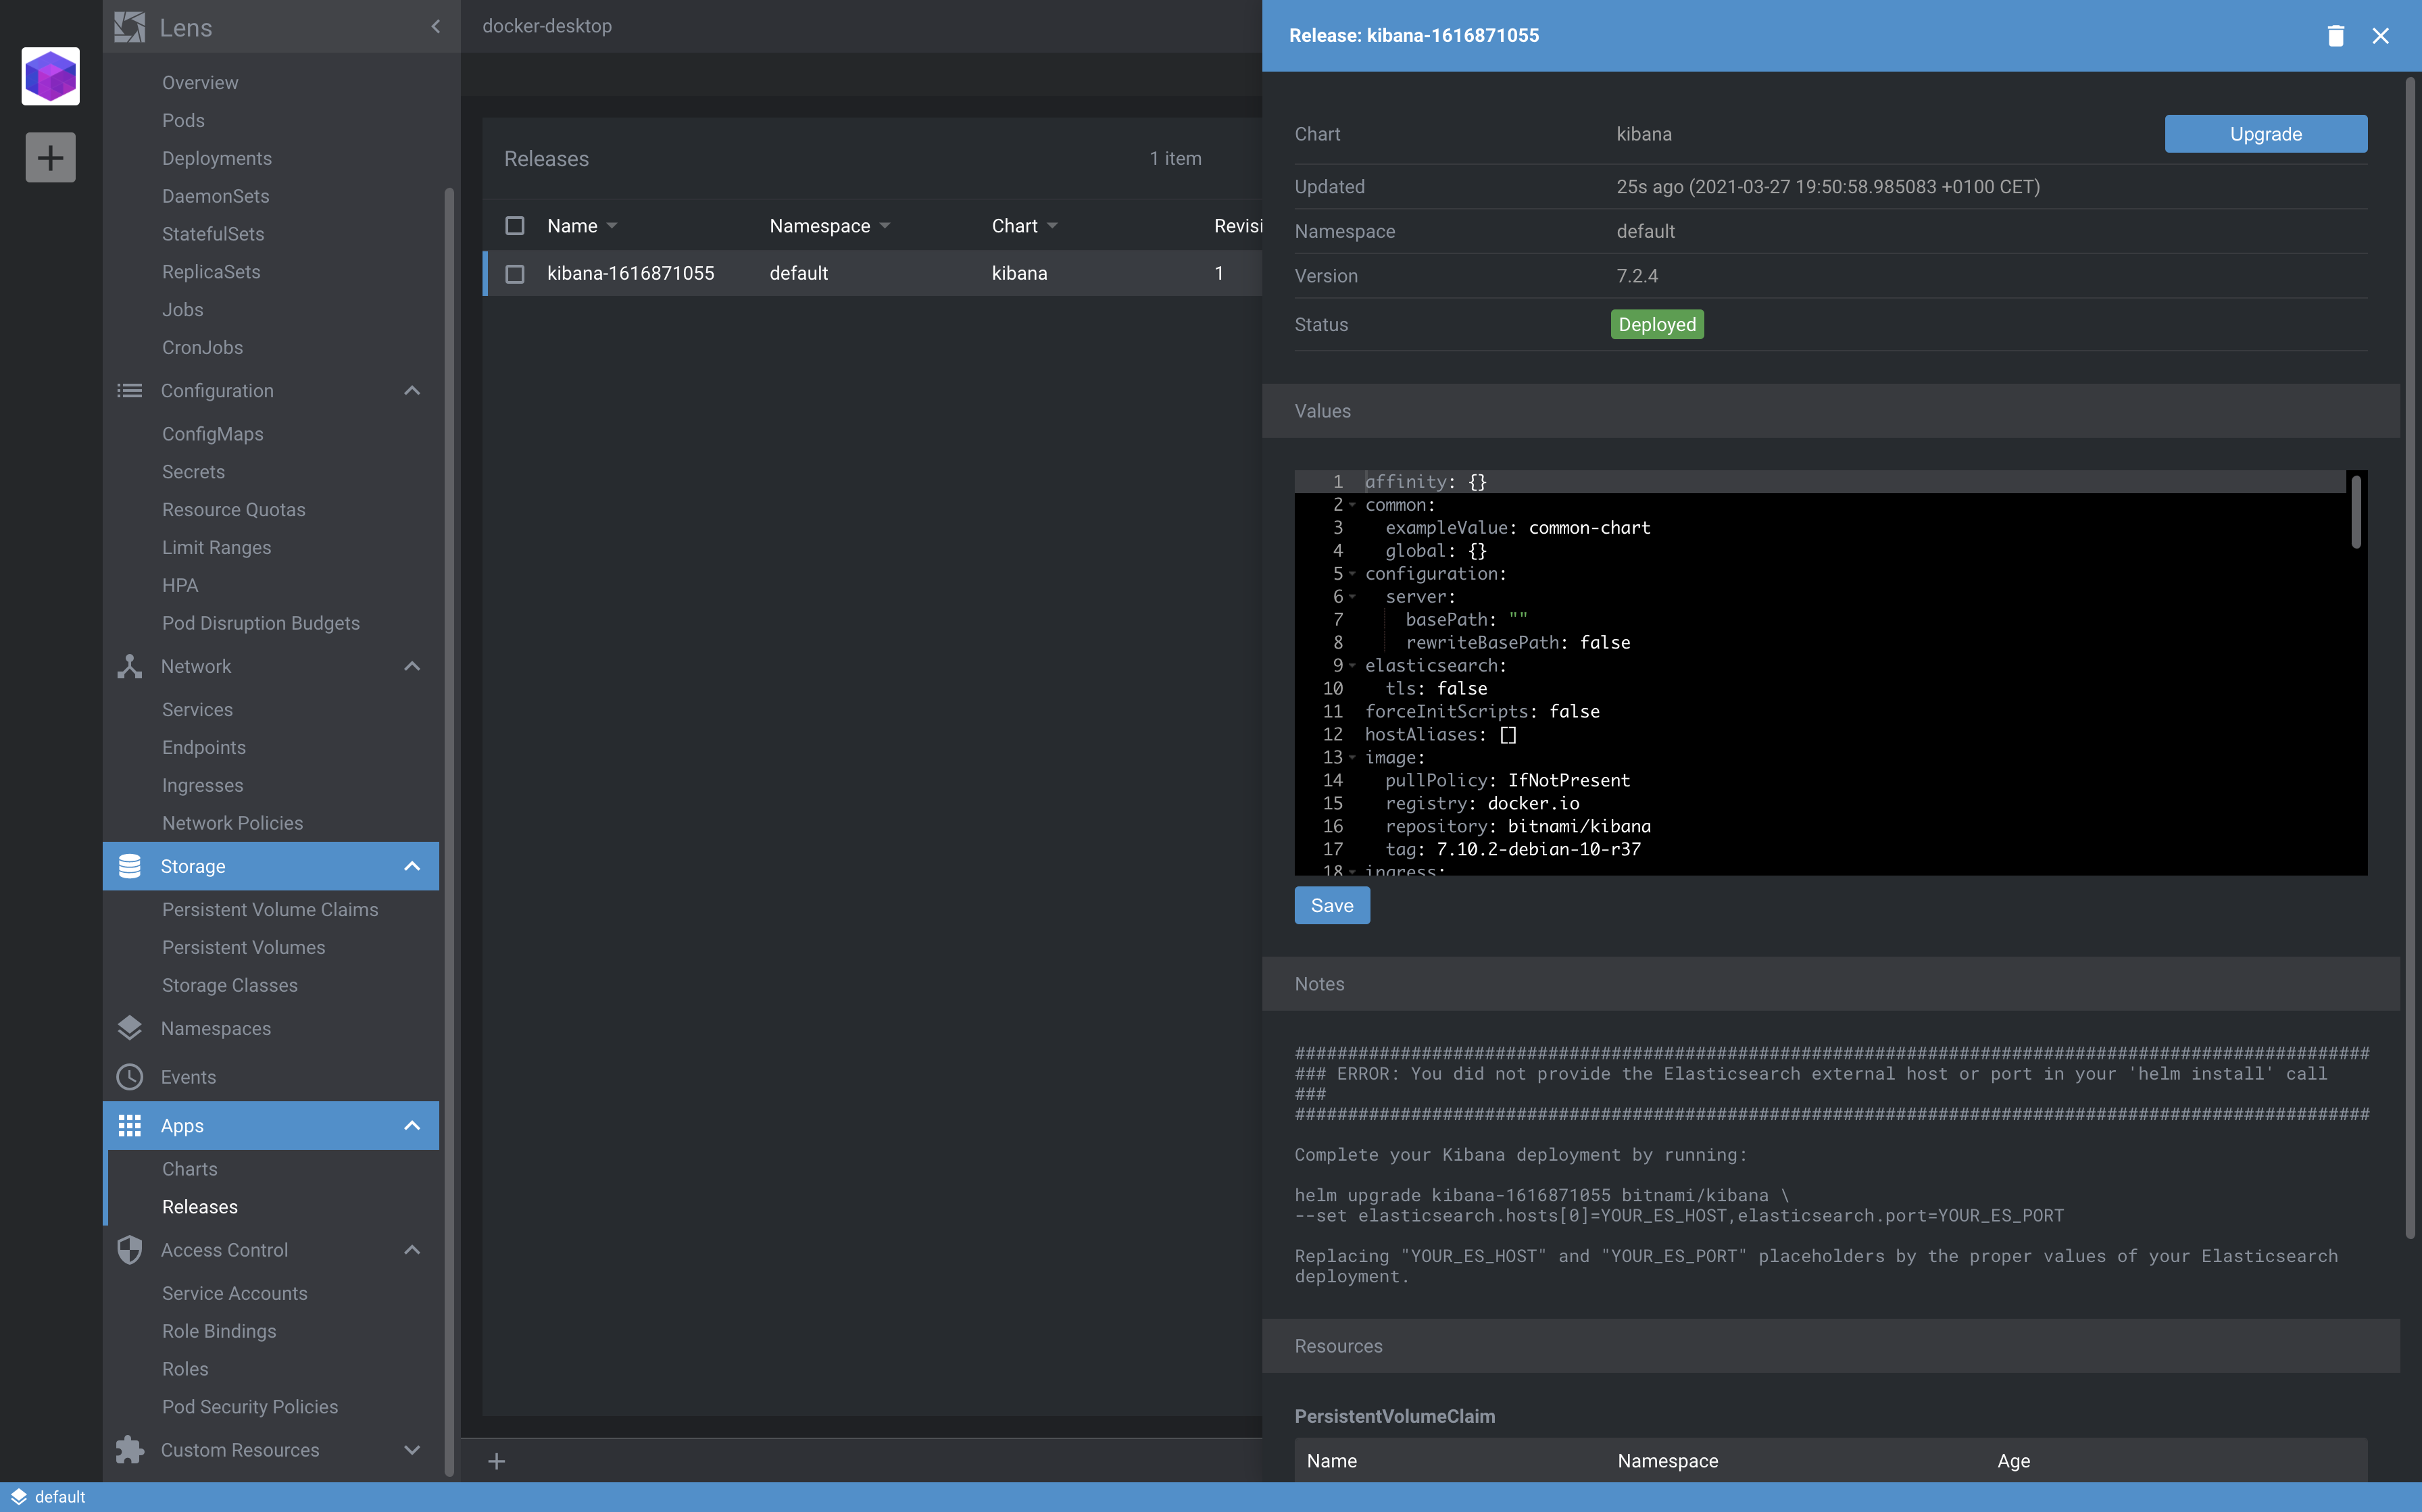
Navigate to Apps and you’ll see many available Helm charts. For the sake of this demo let’s use the Kibana Helm Chart to deploy to our cluster.
You can deploy Kibana with a click of a button.
After the successful installation, navigate to Releases and you can see Kibana deployed, how easy was that?
Another cool feature of Lens is its extensions. Lens extensions let you add new features to your installation to support your workflow.
The rich extensibility model lets extension authors plug directly into the Lens UI and contribute functionality through the same APIs used by Lens itself.
You can find some of the extensions in this repo.
Let’s install the Resource Map extension. Download the .tgz file and load it on the Extensions page.
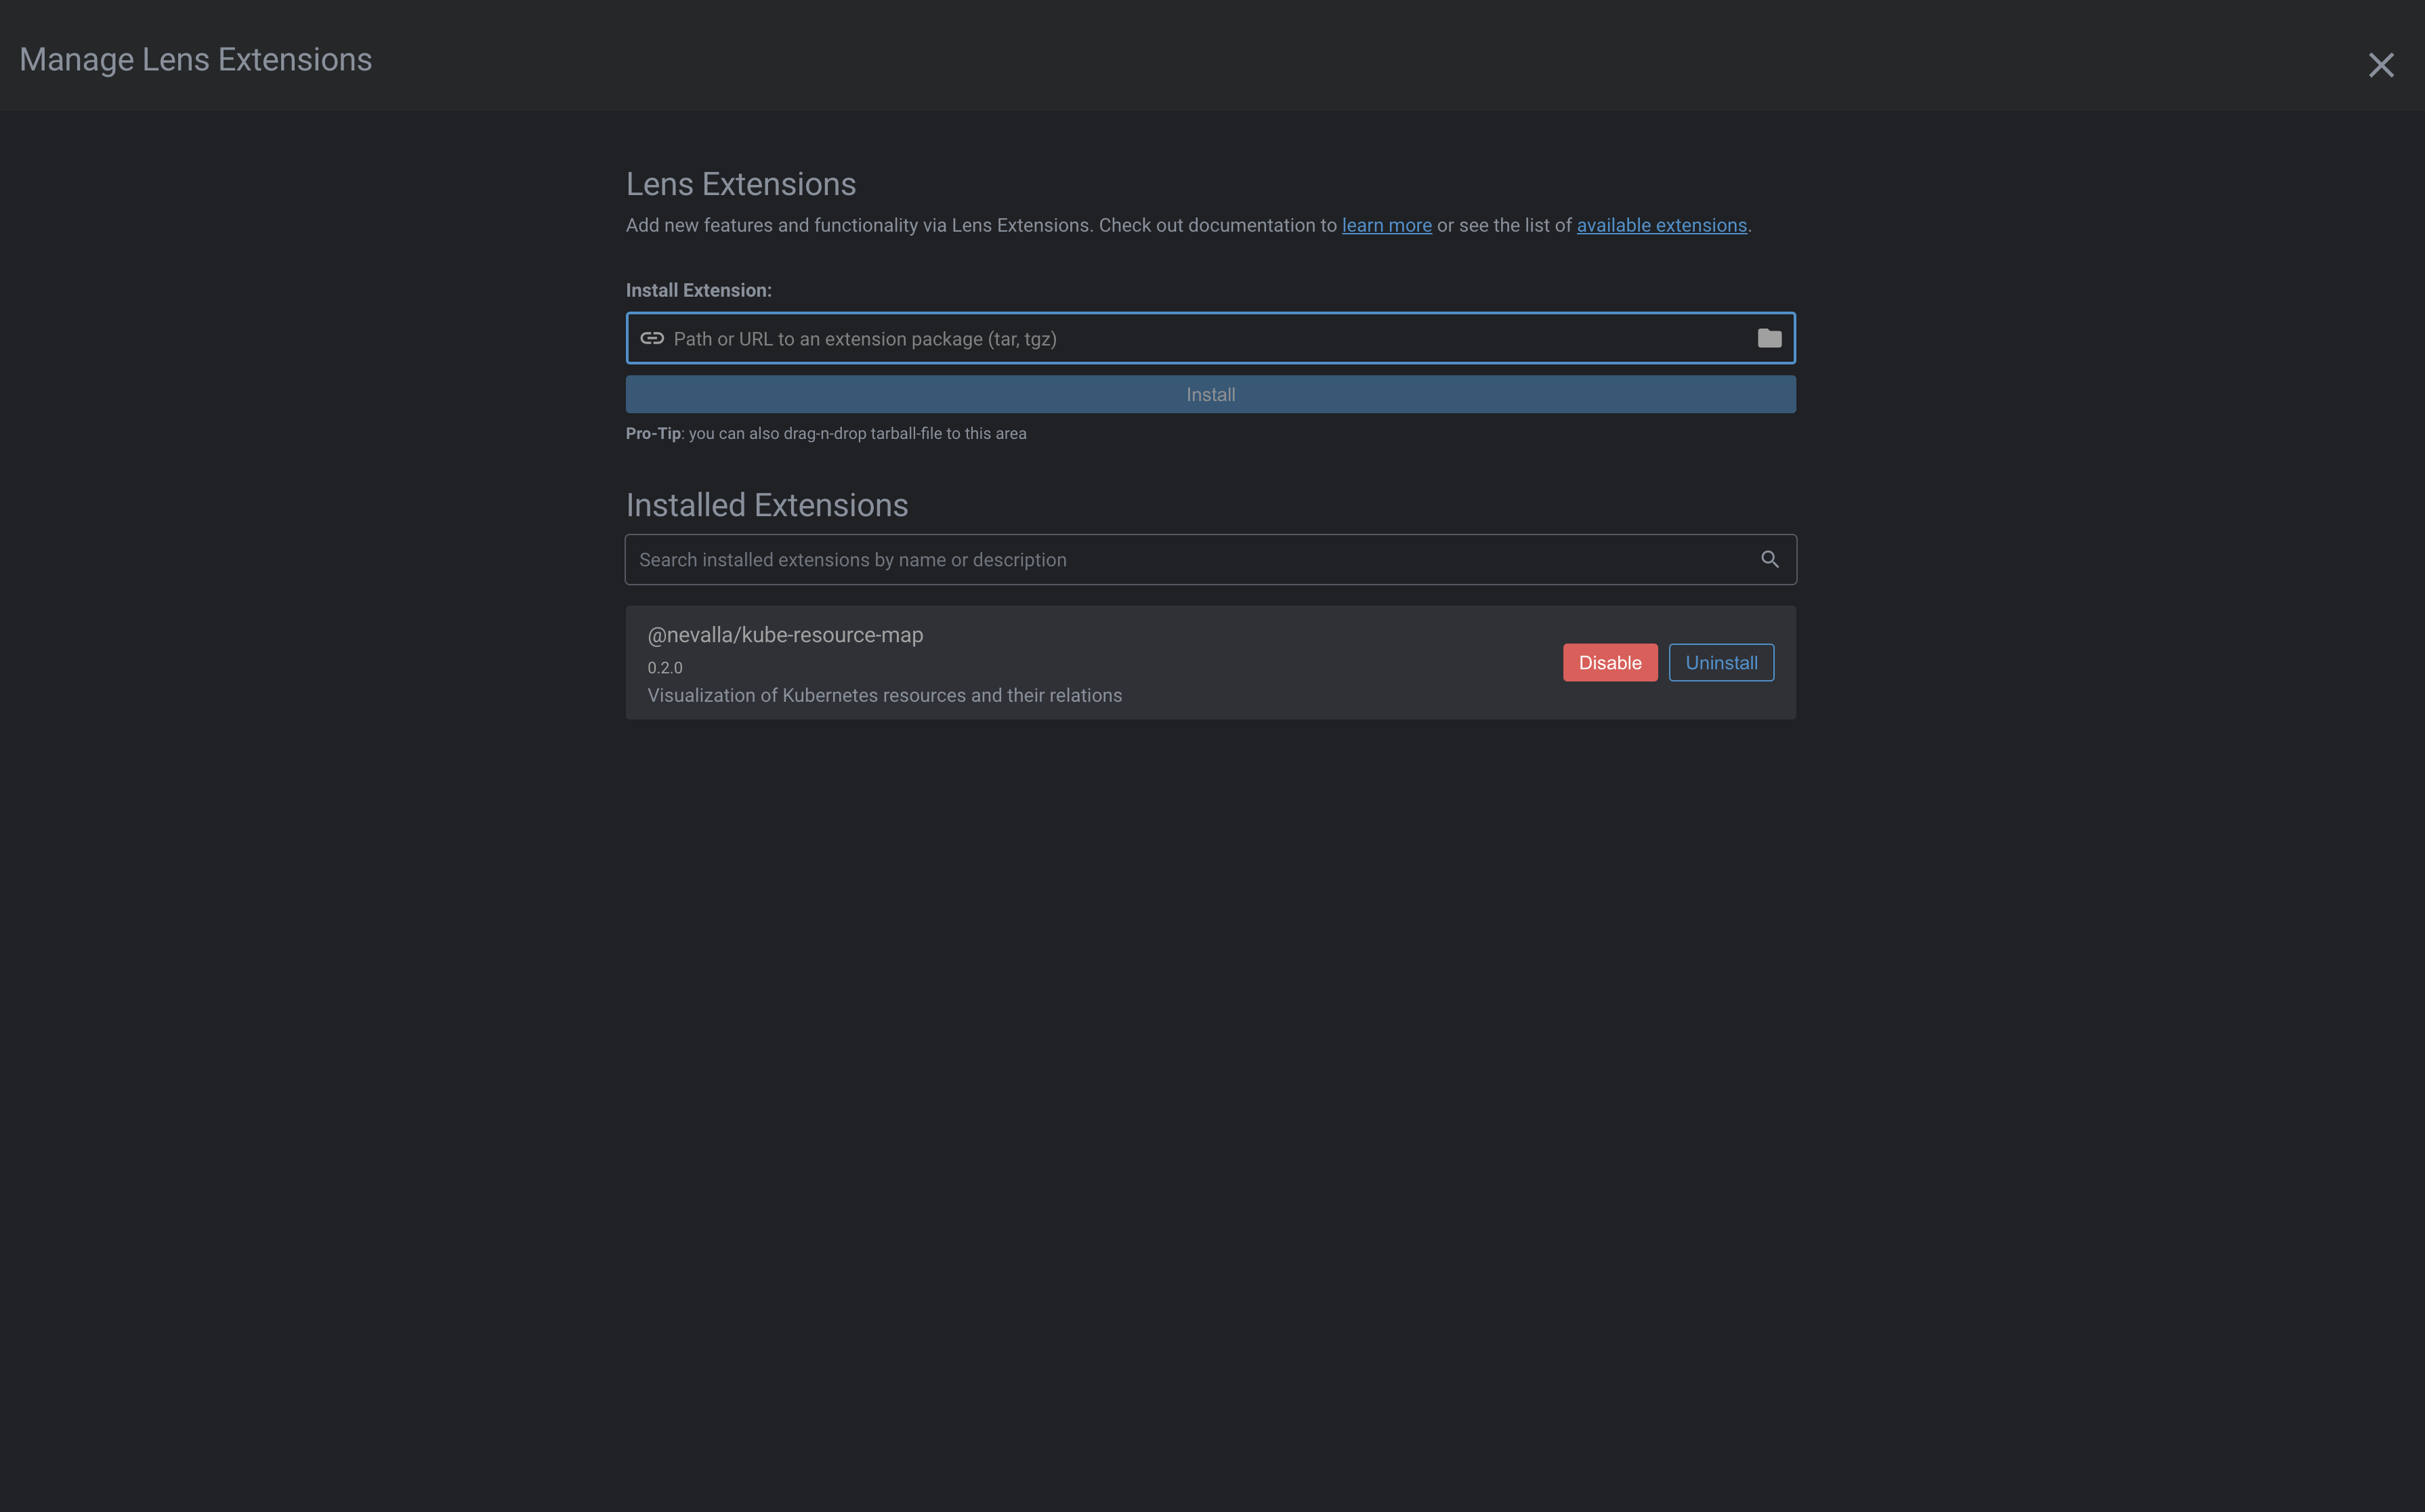
After the installation, a new option appears on the left, Resource Map, a visualization of your Kubernetes resources and their relations.
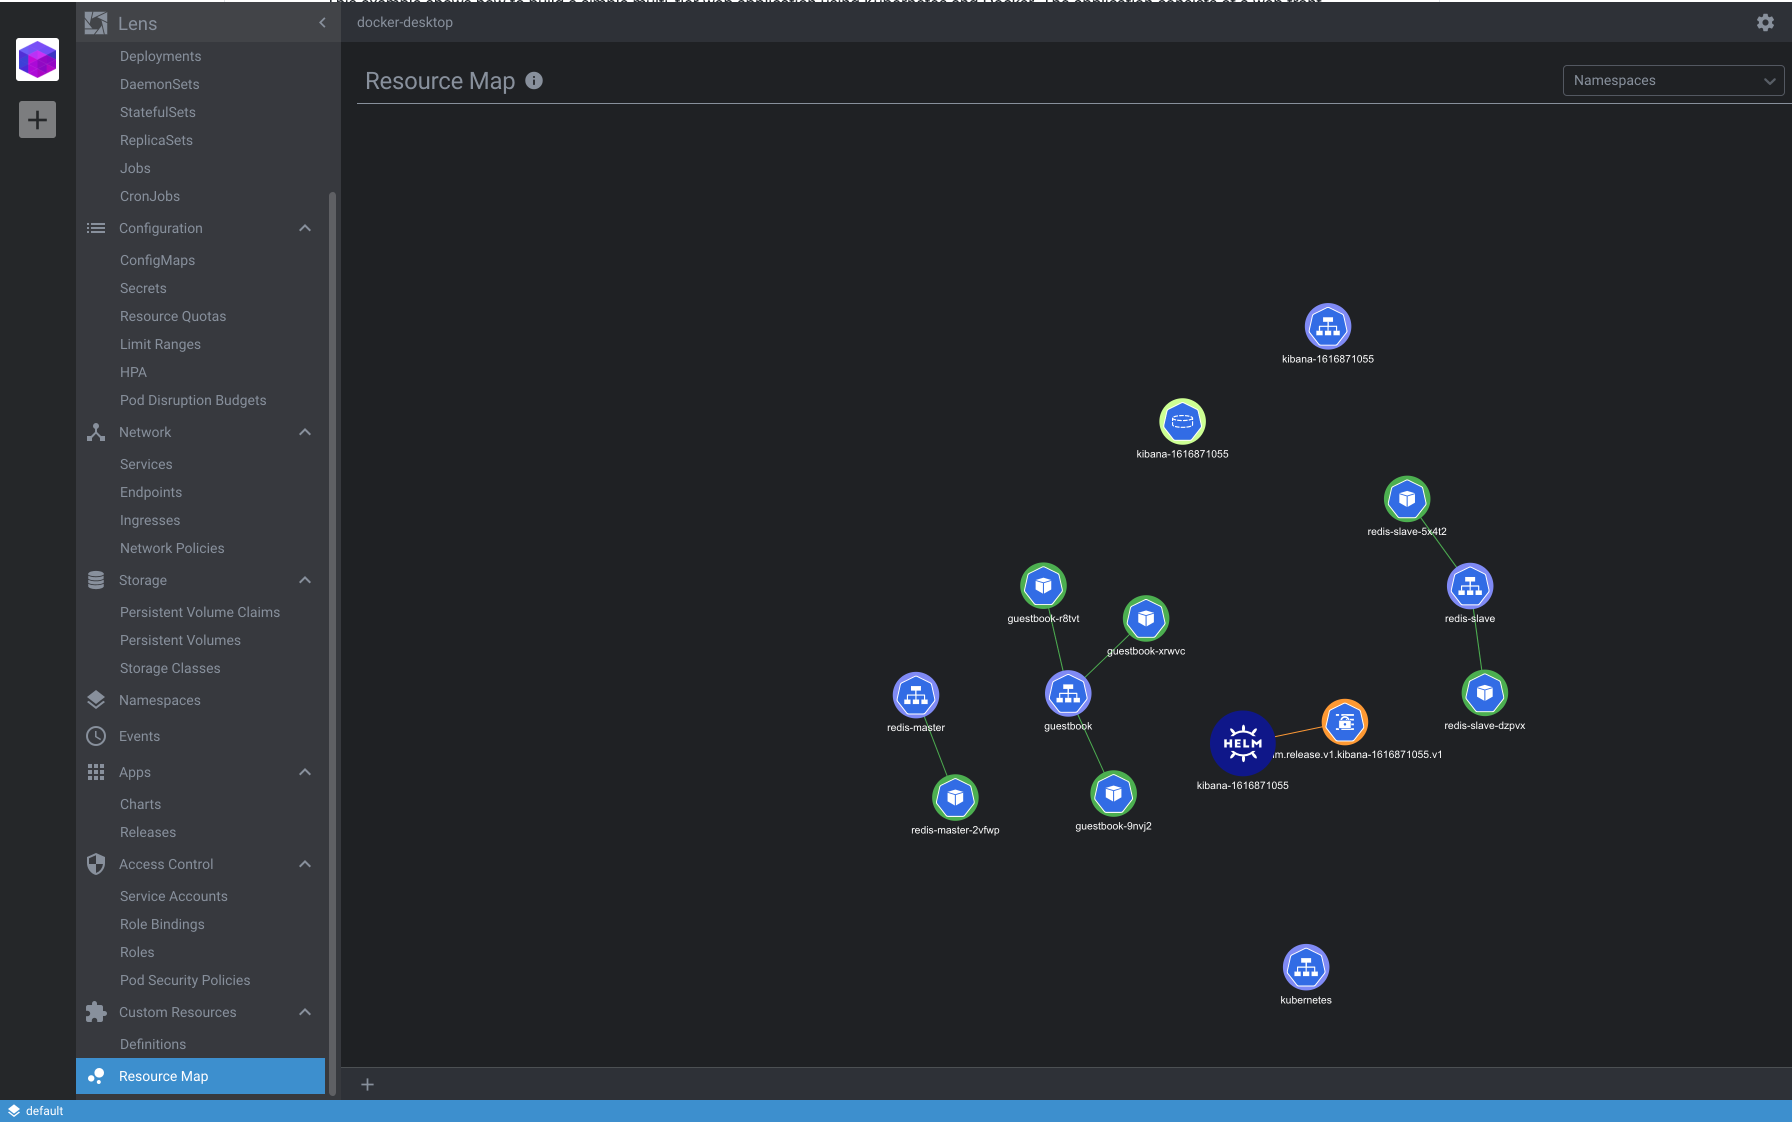
That looks fancy!
Ok last thing to close this demo, let’s set up another fun extension. This time we are going to play the famous Space Invaders game on our cluster!
Install the Lens Space Invaders extension which provides a gamified chaos engineering approach for your Lens clusters. Our Kubernetes pods are going to be displayed as aliens and we are going to shoot them dead, please don’t try this straight on our production clusters.
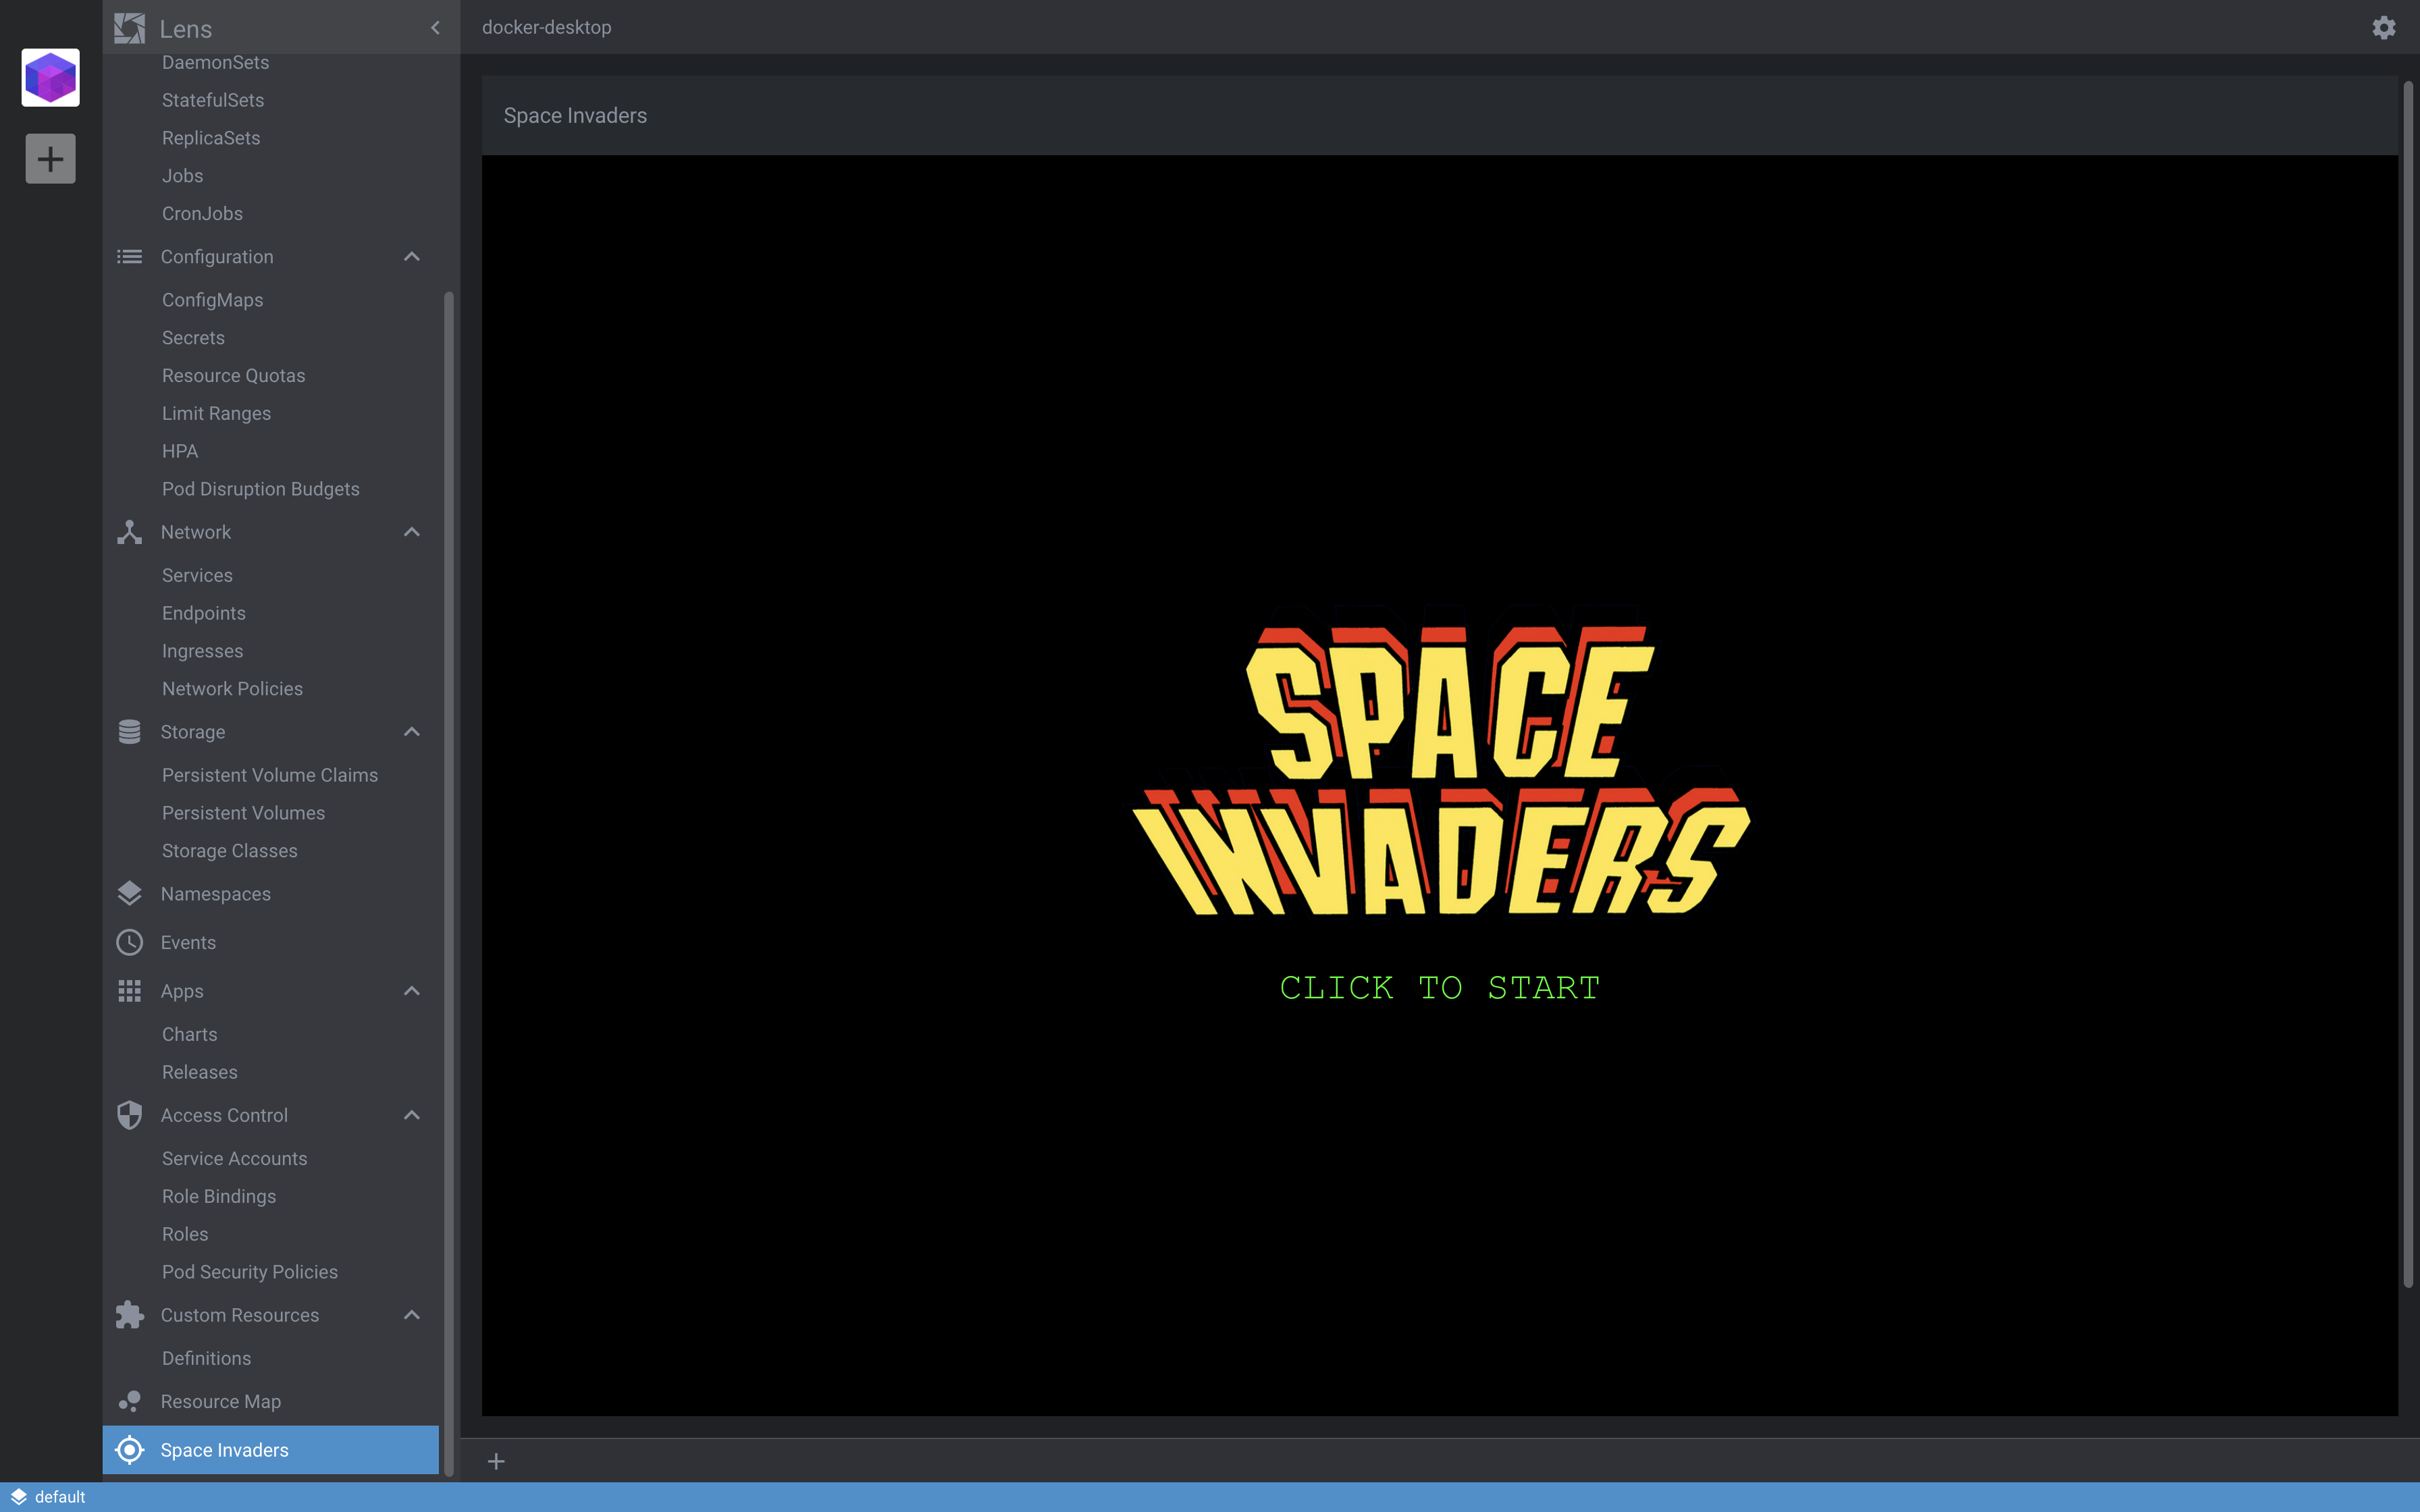
After installing the extensions we are ready to go, let’s go kill some alien pods!
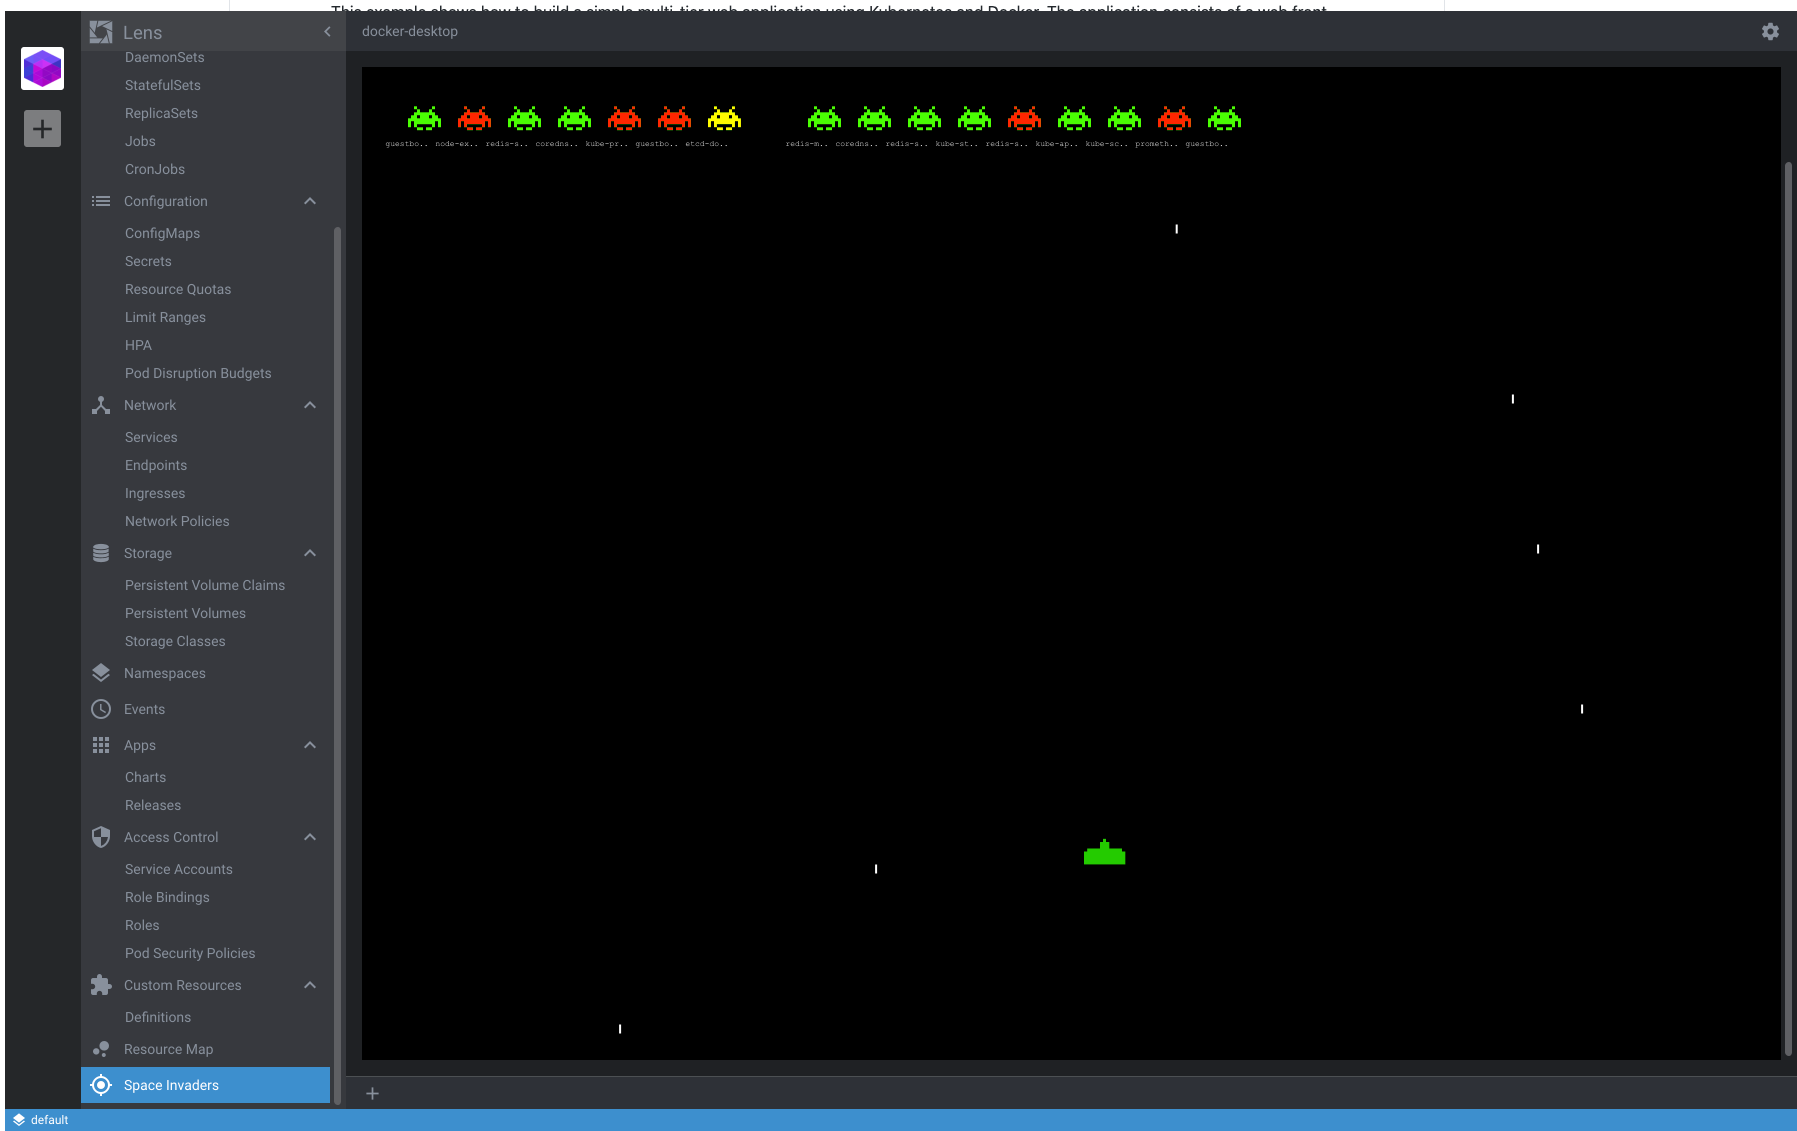
Every pod we shoot is killed and we can see them real-time being terminated and restarting back as they should, awesome!
That’s all folks, hope you enjoyed this. We explored Lens, an open-source IDE for Kubernetes with many nice features that can simplify our workflows and help us take control of our clusters.